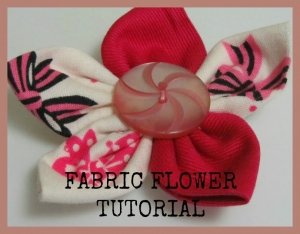
Fabric Flower Tutorial
So…with the iminent release of my next pattern, an A-line Pinafore with multiple options, I was taking product shots of Brylie today and I had made her a wee flower headband to match her dress.
This dress is the Panelled Pinny version. Which features a panel (wow, really?) in the centre front.
You can choose to do fully lined, hence it can be reversible, or just a facing (top of the bodice lined) which makes it cooler in for the summer months. Which is particularrly handy in HOT, did I mention HOT Tauranga, NZ.
You can do buttons and button holes, or snaps. I did buttons and buttonholes on this dress (but only because I had to take phots for the tutorial, otherwise I would have used my trusty and very much loved snap press.)


Here are some pretty cute shots of the pinny itself. I really like the “just above the knee” length, as it works well as a dress on its own, yet looks great with skinny jeans or leggings.

And heres a cute one of the headband.
NOW…on to the tutorial of how to make the flower, as you are all dying to know how.
Materials you will need:
Scraps of fabric
Scissors
Thread
SHARP needle
Iron

1 ~ Cut 5 circles, the size of your finished flower depends on the size of your circles. I used 8cm circles and ended up with a flower that was roughly 7cm across.
2 ~ Iron all your circles in half.
3 ~ Then iron in half again.
4 ~ Make sure you have all the quarter circles facing the same way. I set them in a row with the points at the top, and the fold on the left and the open side on the right.
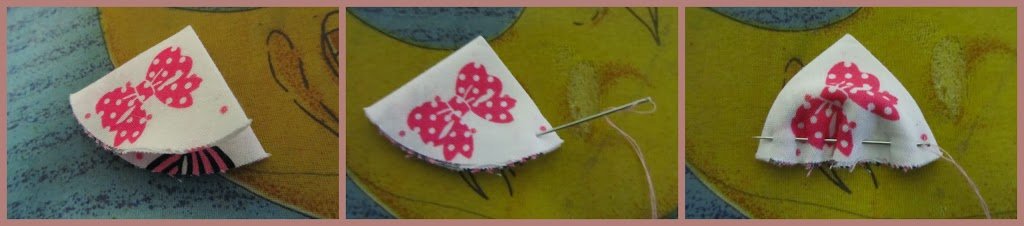
5 ~ Thread your needle with 120cm (47″) of thread and double it over and knot the ends together. Starting from the open side poke your needle in from the top.
6 ~ Take 4 even sized tucks along the raw edge of the ‘circle’. make sure the needle ends by coming “out” the top,
7 ~ Pull the needle and thread through so the knot catches.
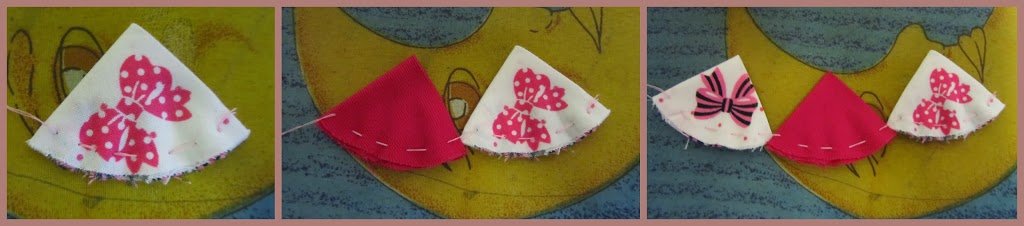
8 ~ Take the second, contrasting colour (or not!) and repeat step 6&7 making sure you are starting from the open side and poking in and ending from the top.
9 ~ Repeat again!!
10 ~ Now you h ave all 5 circles on your thread.
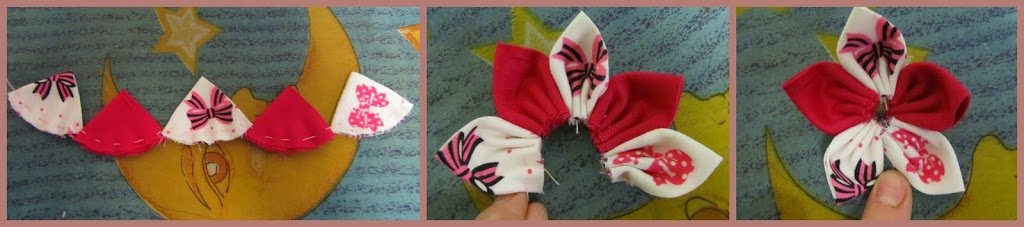
11 ~ Pull the thread tight to bunch the petals up.
12 ~ Now you can see its starting to look like a cute little flower.

13 ~ To hold the flower in its shape, poke the needle though the petal where the knot is.
14 ~ Pull tight to close the gap and secure by making 2 or 3 stitches, joining the first and last petals together. Tie a knot,
BUT DO NOT CUT THREAD.
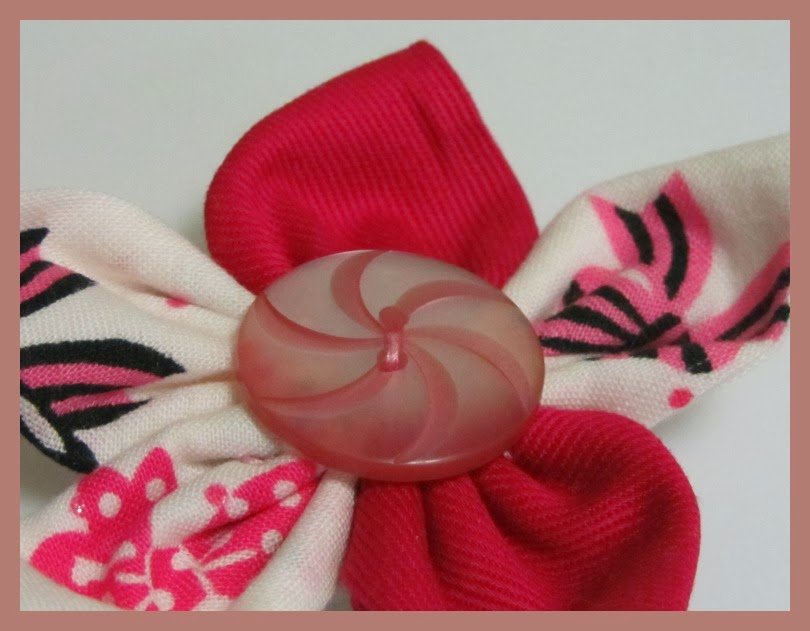
15 ~ Place your button on the top and sew it on, make sure you catch little bits of the petals. You will be sewing in a hole so as you go up and down through the button, catch bits of the petal with eatch stitch.
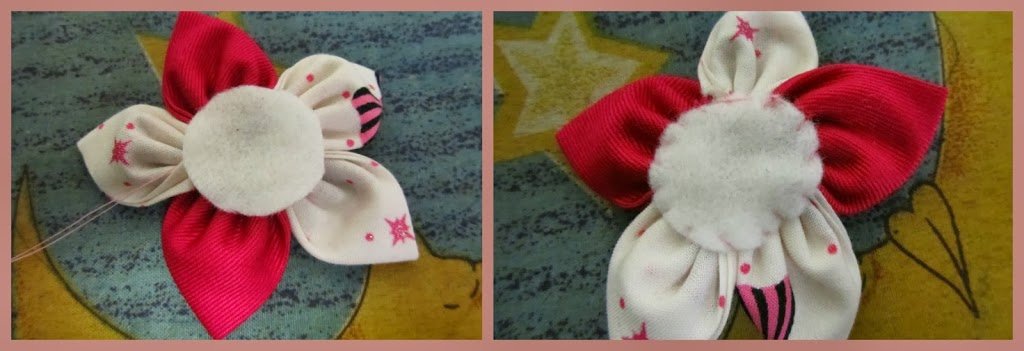
16 ~ Cut a little circle of felt, big enough to cover the raw edges of the petals.
If you are adding a snap so it can be attached to a headband with a snap, (or a piece of elastic in Brylie’s case joined together with a snap) add it now.
17 ~ Stitch around the edge of the felt, catching little bits of the underside of the petals as you go.
Tie a knot when you reach the end.
If you are attaching a brooch pin, now is the time to do it!!
And you’re done.
Now wasn’t that easy??


Leave a Reply
Want to join the discussion?Feel free to contribute!