How to make BIAS BINDING

For a while now I have had people asking me how to make bias binding. I make all my own for all my kiwiana bibs, and like to think that I have developed an easy (well easier) way of making bias binding.
I usually use a 112x112cm piece of fabric and this will give me 20ish metres of perfect binding.
For this tutorial I used a piece that measured 50x50cm and I ended up with just over 4meters of binding.
Binding is an amazing little invention, it allows you to cover up raw edges with a decorative piece of fabric and the nifty thing about it is that it is cut on the bias (diagonal to the grain of the fabric) so that it goes around curves really well. Making it good for binding arm holes and hems.
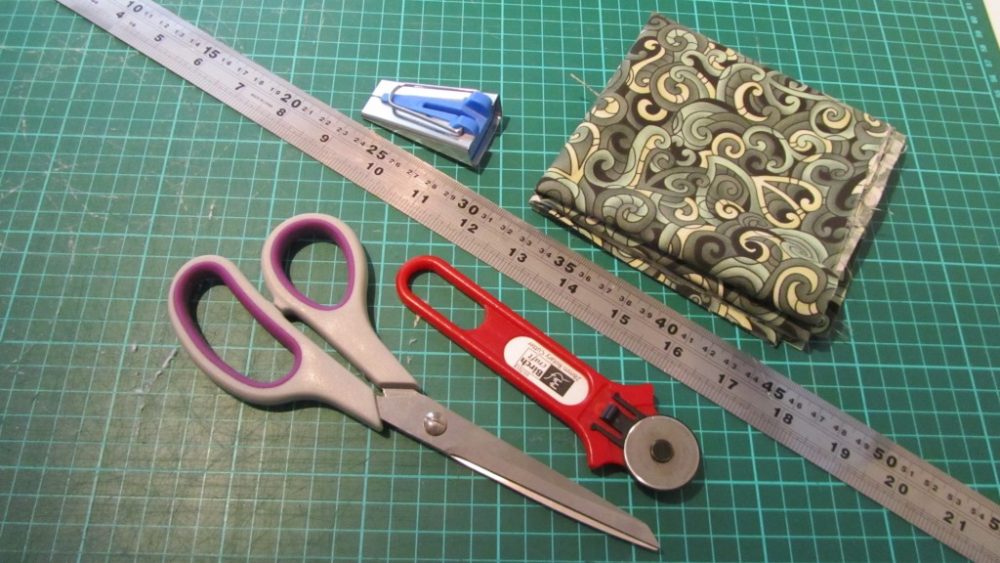
WHAT YOU NEED:
A square of fabric
Ruler
rotary cutter
scissors
iron
ironing board
cutting board
CLOVER bias maker
Yay you have all your bits and pieces, now we can start.
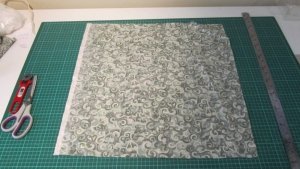 |
| 1 ~ Lay your square wrong side up. |
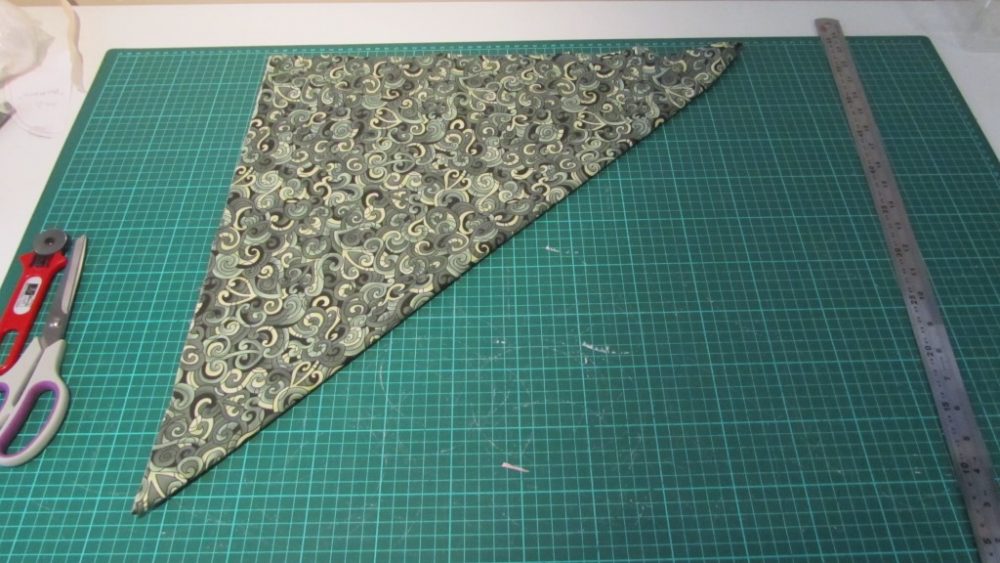 |
| 2 ~ Fold in half DIAGAONALLY as picture. |
 |
| 3 ~ Unfold. |
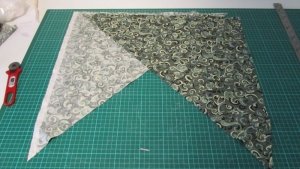 |
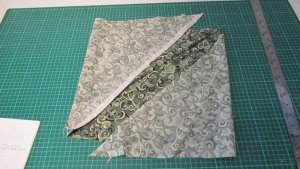
| 4 ~ Flip the bottom triangle so that the straight edge is at the top instead of the bottom. |
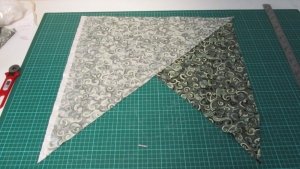 |
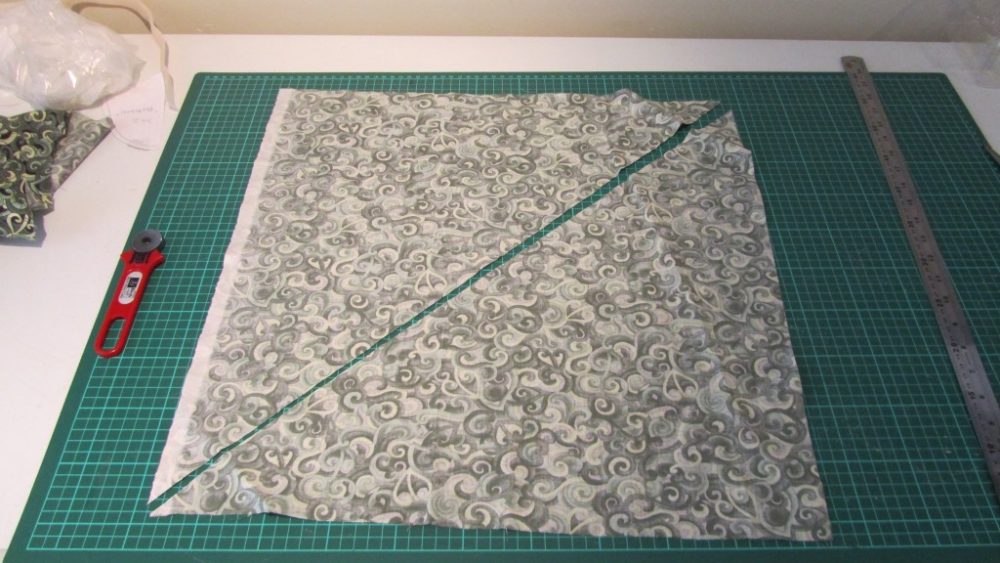
| 5 ~ Now put right sides together, keeping the same formation as the photo. SEW along the top edge using a 1cm seam. |
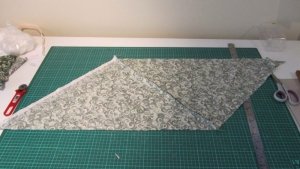 |
| 6 ~ Unfold and your piece should look like this. |
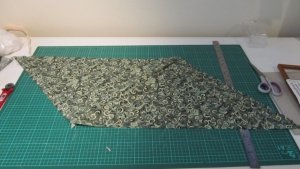 |
| 7 ~ Flip over and it should look like this. |
 |
| 8 ~ Now comes the tricky part. Turning into a tube, The two short, non stretchy sides need to be sewn together and they also need to be offset by 5cm (if you are using the same size bias maker that I used) I have a video to try explain this, so click here to see it. |
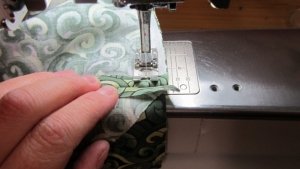 |
| 9 ~ When sewing the second seam make sure you open out the 1st seam and sew over it. |
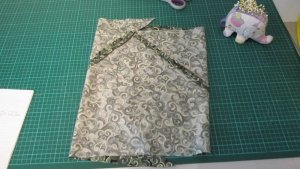 |
| 10 ~ Your tube should look like this! Are you still with me? Great, now you can iron the seams open and we can get on with the cutting. |
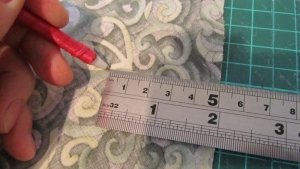 |
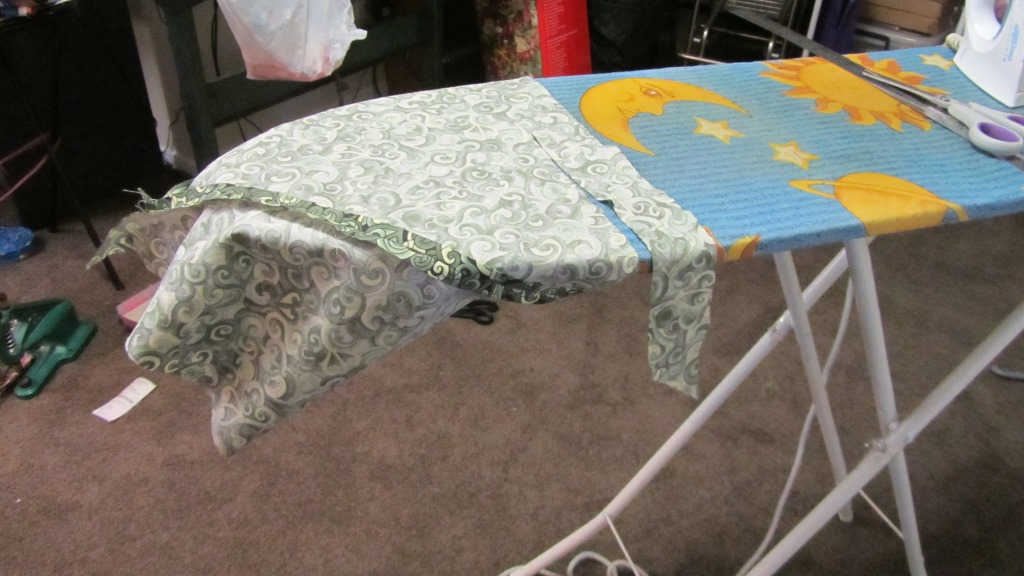
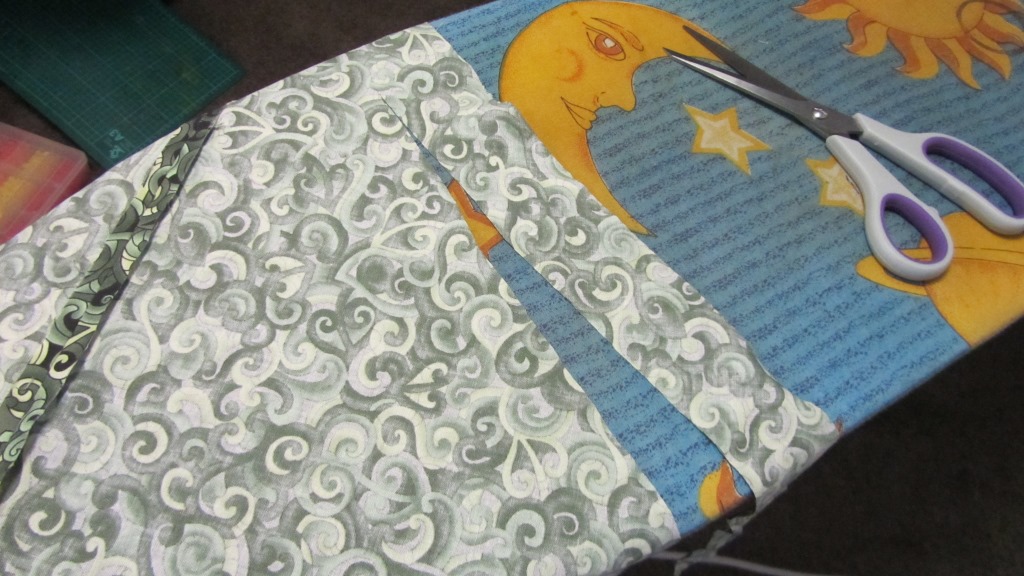
| 11 ~ With the bias maker I used you need to have a 5cm stripe so put your tube on your pointy end of your ironing board and using your ruler, measure 5cm in from the raw edge. Do this as far as you can go then cut along the marks. |
OR
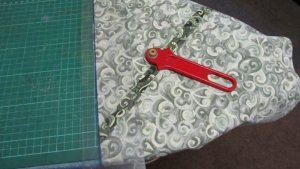 |
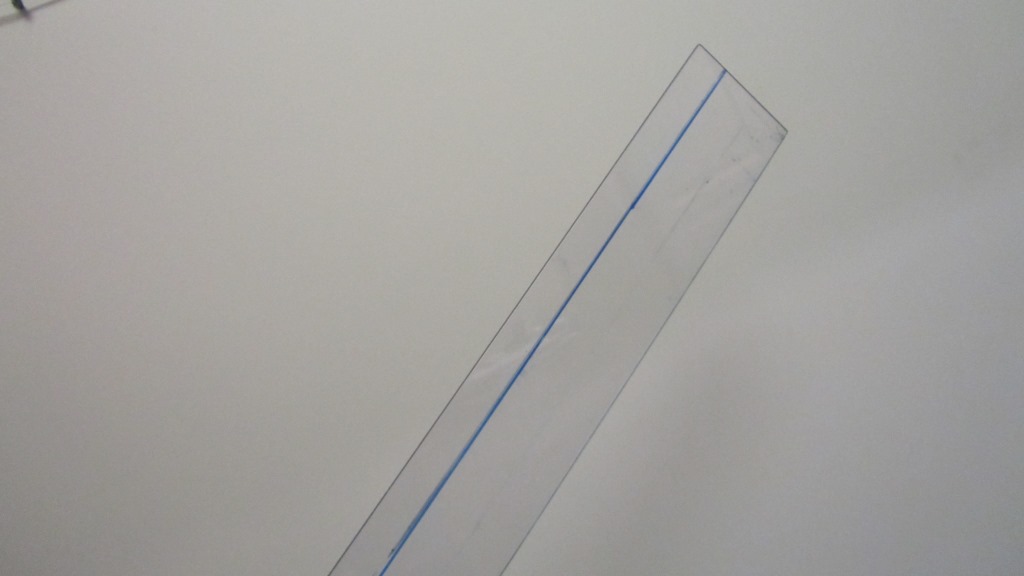
| You can use your ruler and a rotary cutter… I have a special ruler with 5cms market on it, you can use any ruler that is 5cm wide. this one is made of Perspex. |
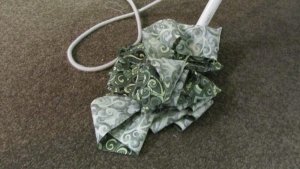 |
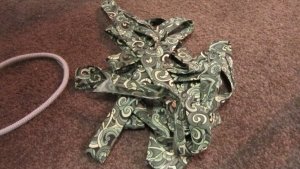
| This is what you will end up with after all the cutting. |
Now to iron it into folded binding.
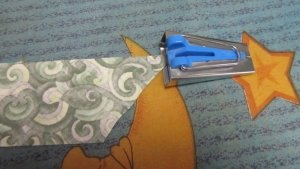 |
| Lay your strip along your ironing board wrong side up, and thread into your bias maker… |

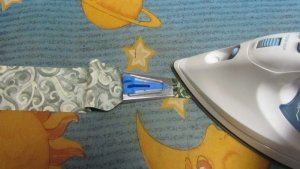 |
| Iron the folded part of your binding as you pull the bias maker along your strip. Keep relatively close to the point where the bias binding comes out so that the two raw edges are as close to each other as possible. |
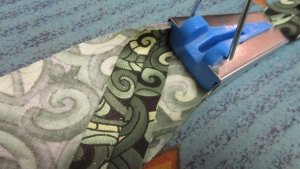 |
| When you get to joins, slow down and make sure they go through the bias maker ironed open. They are sometimes a little thick so you need to do a bit of a wiggle and pull to get them through. |
 |
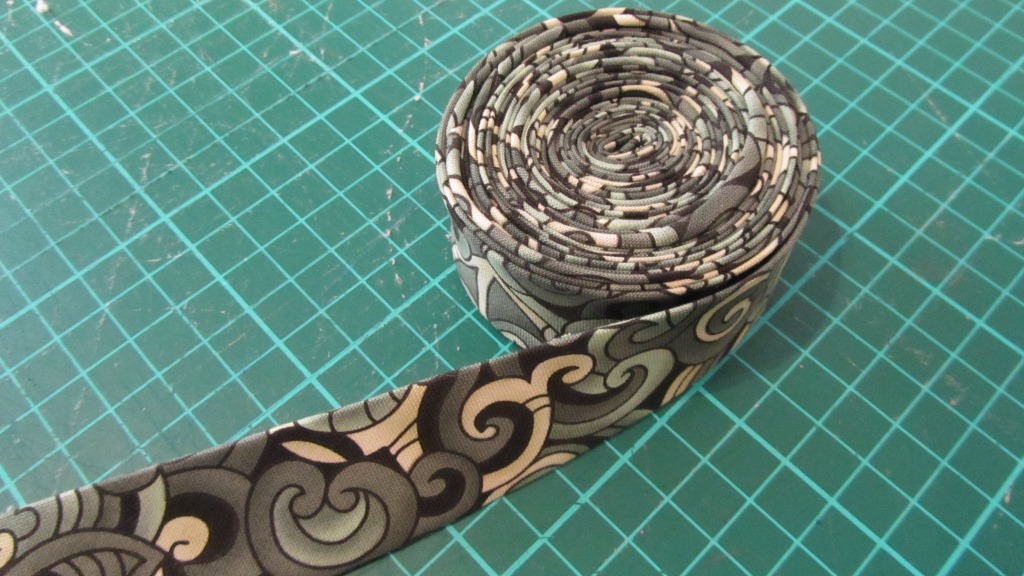
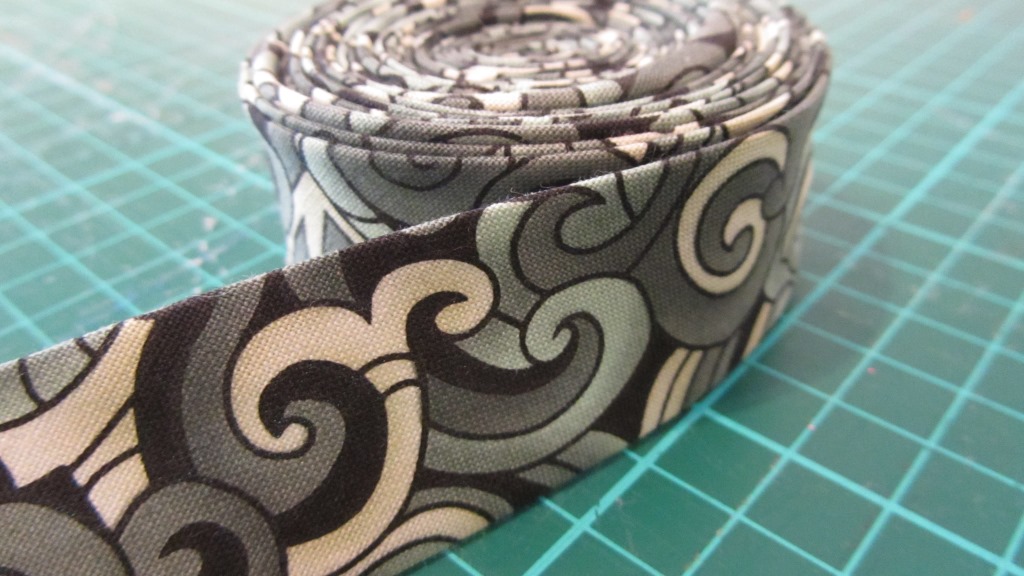
| Now this is what you have got. You can now roll it up for storage. |
Thank you for using my tutorial, if there were any parts that you didn’t understand PLEASE let me know and I will clarify.


Leave a Reply
Want to join the discussion?Feel free to contribute!