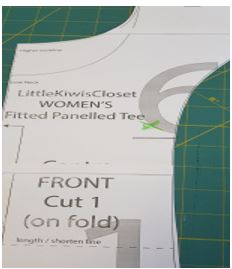
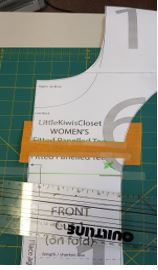
How to do an FBA on a Princess Seam top/Dress
Sandy has done it again, here is a tutorial on how to do an FBA on a top/dress with princess seams. Thank you Sandy for all the work you put into this, I know there are many people who will value this.
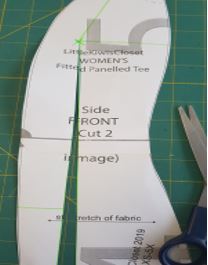
1. Hold the Front up against your body and mark an approximate bust apex on the pattern piece.
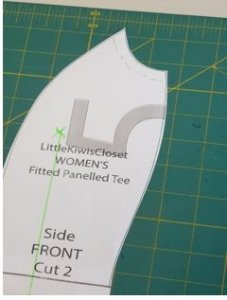
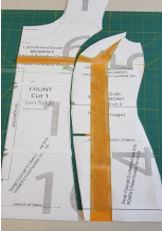
2.Place the Side Front alongside the Front and make a mark indicating the same height as the bust apex on the Front.

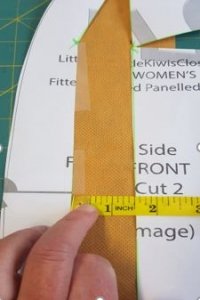
3.Draw a vertical line (ensure the line is at right angles with the hem line) from the hem to the marked point on the Side Front.
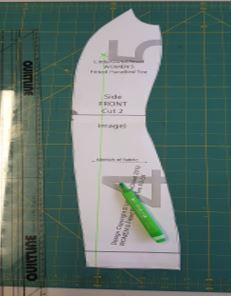
4.Mark the 1cm seam allowance around the armscye on the Side Front.
5.Draw a horizontal line from the bust apex out to the side seam. Mine is on a little bit of an angle. Draw another line from the vertical line to the seam line that attaches to the Front.
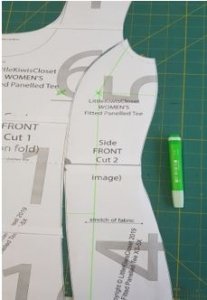
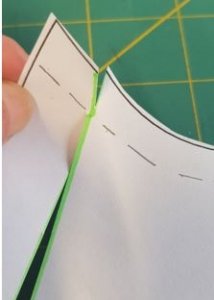
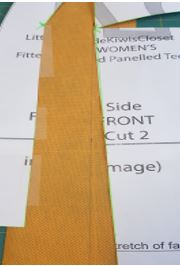
6.Cut from the hemline up to the bust apex along the green vertical line.
7.Keep cutting till you reach the seam allowance at the armscye.

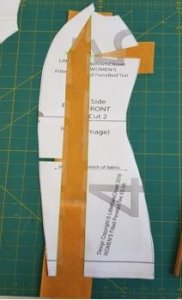
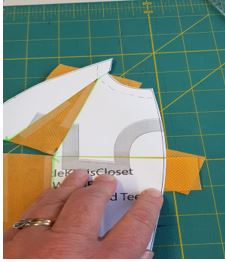
8.Now cut from the armscye to almost the seam allowance line – creating a hinge.
9.Cut from the side seam almost to the marked point, creating another hinge.
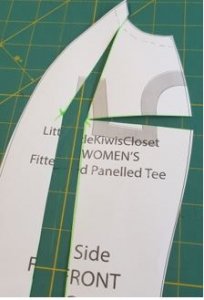
10.Snip along the horizontal line further down the Side Front.
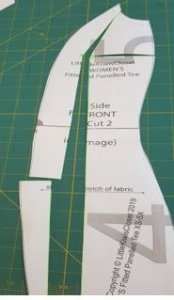
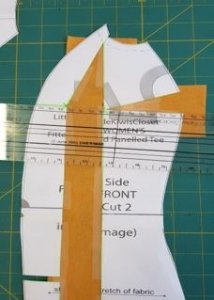
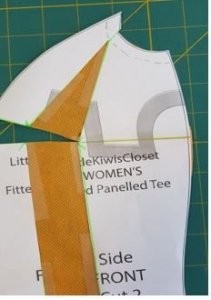
11.Now slip some paper under the pattern piece so all the gaps will be filled. I have used the yellow to make it easier to see what I have done. Secure the left side edge with tape. Measure the desired width needed and make a mark. Repeat further down the pattern piece.
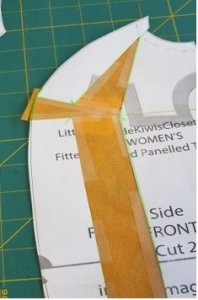
12.Draw a line connecting the marks.
13.Now, gently pull the right side of the pattern piece into place along the drawn line and you will notice the pattern opening up in 2 places at the top. Tape all pieces in place. Make sure to secure the piece cut off on the seam side, leaving a gap to make them even on the hemline.
14.Draw a line following the angle of the dart you have created on the side seam right through your marked point and on to the edge that meets with the Front.
15.Cut through the line from both the side seam and the seam that meets the Front. Do not cut through the marked point though. It becomes the hinge.

16.Close the dart you have made at the side seam and tape to secure.
17.As you close it you will notice the other side opening up to provide more room for the bust on the opposite side.
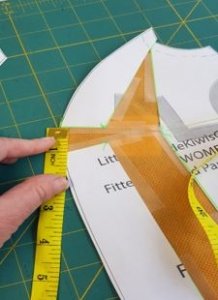
18.Fill the gap with paper and tape to secure. Draw around the shape and trim all edges all around.
19.Measure the width of the opening – mine was exactly 1 inch.
20.Lengthen the Front by 1 inch at approximately the bust area to accommodate for the extra length on the side front. Trim all the edges.
21.Voila – you are finished!!!!


Leave a Reply
Want to join the discussion?Feel free to contribute!