What is an FBA and do I need one?
Today we welcome Sandy Simpson to the blog to walk us through drafting an FBA on a raglan style pattern.
I have been sewing for myself for the best part of 40 years and have only learned about the full bust adjustment in the last 18 months. What a light bulb moment it was for me and also an exciting time to steam ahead and make garments that actually fit me properly – everywhere.
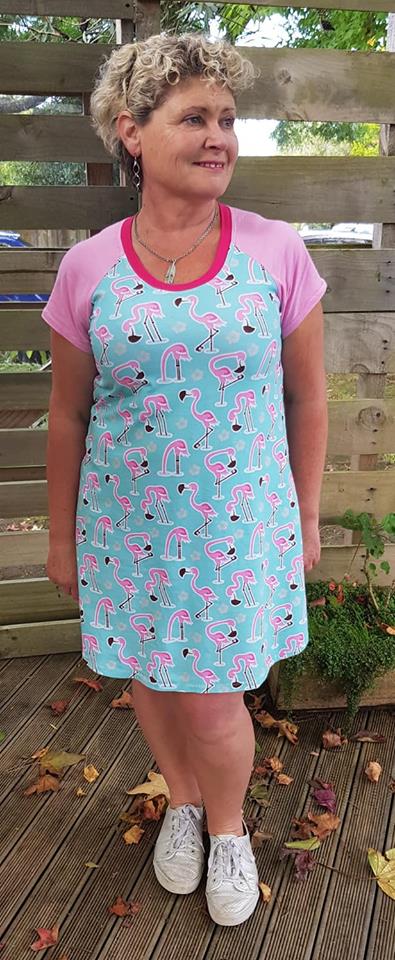
I have a classic hourglass figure with full curves on a very short frame. When making tops, blouses and dresses I have always chosen the size according to my full bust size, but I have then had real issues with shoulders that are too big, armscyes that gape and waist shaping that is too loose. I was needing to do a full bust adjustment but I didn’t know it.
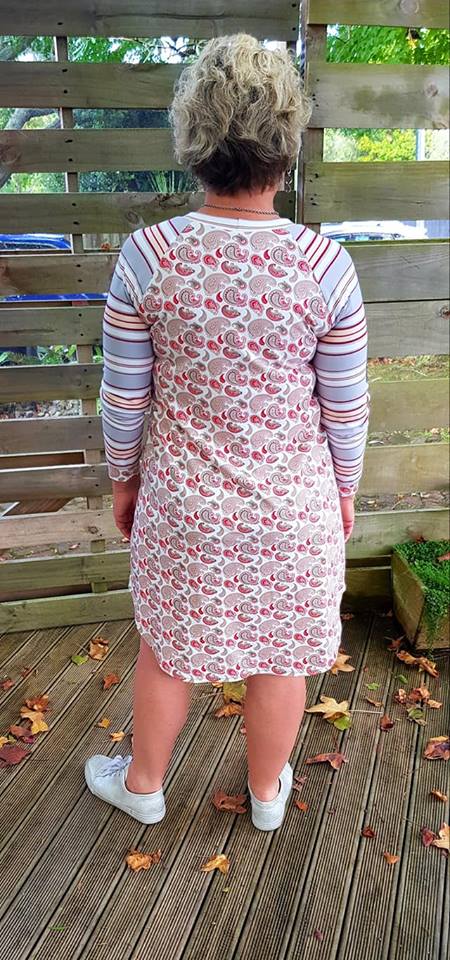
When making knit tops and dresses without dart shaping, I have the classic tramlines that fall on an angle from my bust to my waist and I thought that these indicated the need for an fba. These lines can also indicate the need for a sway back adjustment. After much research I have discovered that if, like me, you have both a short torso and a waist that is quite a bit smaller than your bust then you will get these lines regardless of adjustments.
The most reliable sign to tell if you need an FBA is the set of tramlines that you may get between your breasts.
Now for the revelation…
When deciding to do a full bust adjustment you will need to cut your pattern 1 size smaller than your usual size. This took me a while to understand and then actually accept that I could be the size smaller with an fba. I continued to cut my patterns at my regular size, did the fba and then wondered why my clothes were still too big even though the bust fitted better.
When sewing, I am usually a medium to a large in knitted tops or a NZ size 14. When doing an fba I cut a small or a NZ 10-12. This makes all the difference.
To figure out if you may need to do a FBA, start by measuring across your full bust. Next, measure your high bust (for this, measure above your bust, running the tape measure just under your arms). If the difference between these two is more than 2” (5 cm), then you are larger than a B cup (sewing pattern cup size is different to bra cup size), and you might want to do a FBA.
Steps to complete your fba on a raglan sleeved top.
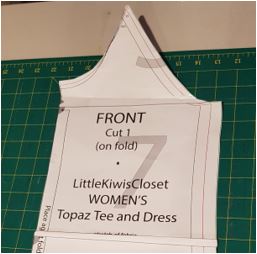
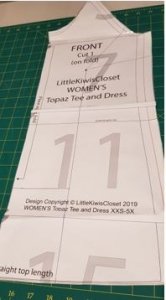
1. Trace and cut out your pattern – 1 size smaller than your full bust measurement.
2. Hold your pattern front up over your body and put a dot at your bust apex.
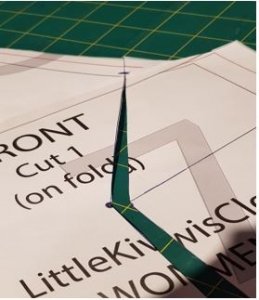
3. Draw a straight line from the apex point to the hem – parallel to the grain. Draw another line from the apex to the side seam and a third from the apex to the armhole approximately a third of the way up. The last line will be drawn further down on the pattern piece. This is a horizontal line leading from the vertical line you drew first to the centre front fold.
4. Draw a mark showing the seam allowance at the armhole edge where the line you have drawn meets the edge.
5. Cut from the hemline up the vertical line, pivoting at the apex point and continuing to the seam allowance mark at the armhole. Do not cut through this mark. Turn your pattern piece around and cut from the armhole edge almost to the seam allowance. This will leave a small hinge at the seam allowance mark.

6. Now, you are going to cut the line leading from the apex point to the side seam. Start this cut at the side seam and cut in to the apex but stop just before you get there – creating another hinge.
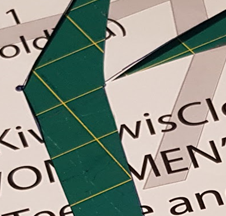
7. Next, slip some paper underneath your pattern. I have used yellow for this example. Usually I use leftover pages from my printing pile! Tape the left side of your pattern to the paper you have slipped underneath. Now, move your pattern piece to the right and create a valley in the middle and 2 darts on the upper bodice. I have moved mine 1 inch to the right, which equates to 2 inches for the full front.
You will notice as you move the right side out the darts will automatically appear. It is quite magical!
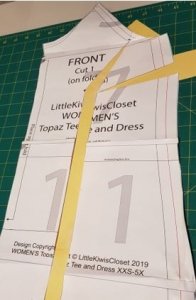
8. The right side of the pattern piece is now longer than the left side. Cut along the horizontal line you drew and move the left piece down so it is in line with the right.
Draw around the edges of your pattern where you have made changes, and cut off the overhangs.
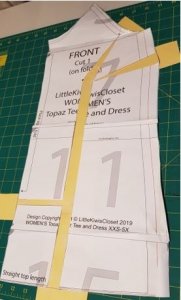
9. And voila! You now have a front with a full bust adjustment.
If this adjustment has added too much width to the waist and hips then you can gently shape/grade these to achieve the right size again. Because this pattern has a natural fullness to the hips I shaped my pattern in a little from the waist to the hemline and the fit was great.


Hi, the picture links seem to be broken – is it possible to update them? I’m keen to give this a try! Thank you 🙂
Oh I’m so sorry, yes I will fix that for you.
Is there also a need to add the length in to the back as well? Given the side seam is extended by about an inch or so, and I can’t see that a dart has been sewn, I’m guessing the back is also lengthened?
Thanks!
yes, I’m pretty sure Sandy extended the back to match also.