Burito Roll for the Tulip Trio
During recent testing of the Tulip Trio one of my amazing testers (Rebekah from RebekahSews) pointed out that we could do a burito type roll with the yokes. The ones she made her girls were super gorgeous and so I decided to try it out aswell. Well to my amazement it was actually quite easy, and makes for a superb finish on the inside, with no seams exposed (apart from the sleeves).
This technique can be applied to the front AND back yokes – you can do 1 or both, but if you do the back, you will need to cut an extra back yoke piece.
So lets get on with the HOW
If you are using this technique on the back yoke aswell, then you need to start right at #1
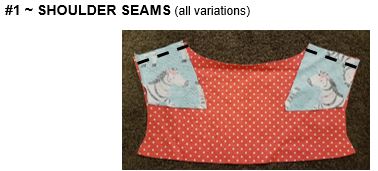
Lay your pieces like the tutorial, but take the second back yoke and lay it RST with the other piece so the shoulder pieces are sandwiched between, still sew only along the shoulder seams.
Then follow the tutorial until you reach #4 ~ Adding the lower body. Now follow the photos and instructions below.
First you pin and only pin the lower front piece to the MAIN (as in not the lining) FRONT YOKE, then flip the neck/back up so that the right side of the whole thing is facing up.
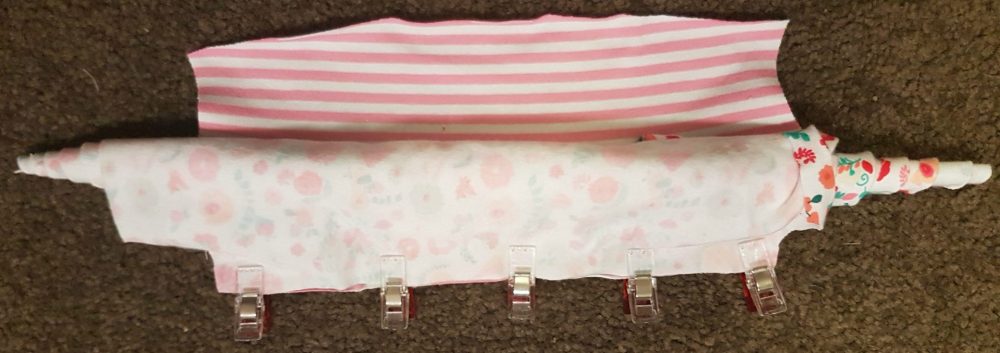
Now roll, as tight as you can the BACK/NECK piece, leaving the FRONT YOKE (both main and lining) facing up.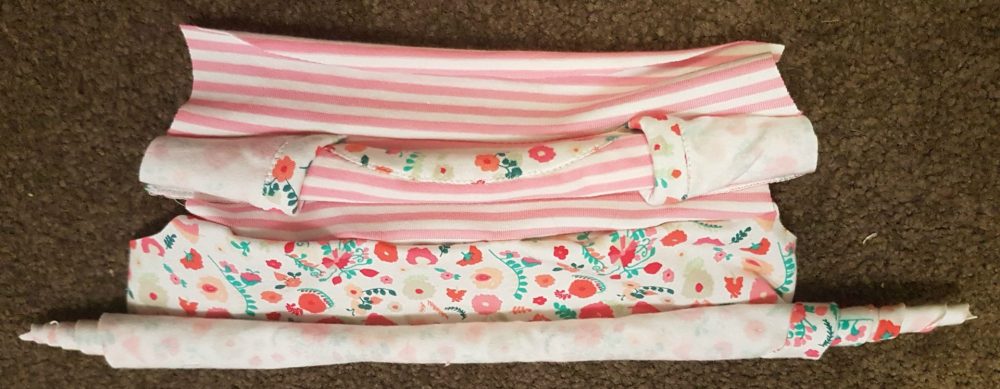
Now roll up the lower front until you are about 4cm from where the yoke joins to it.
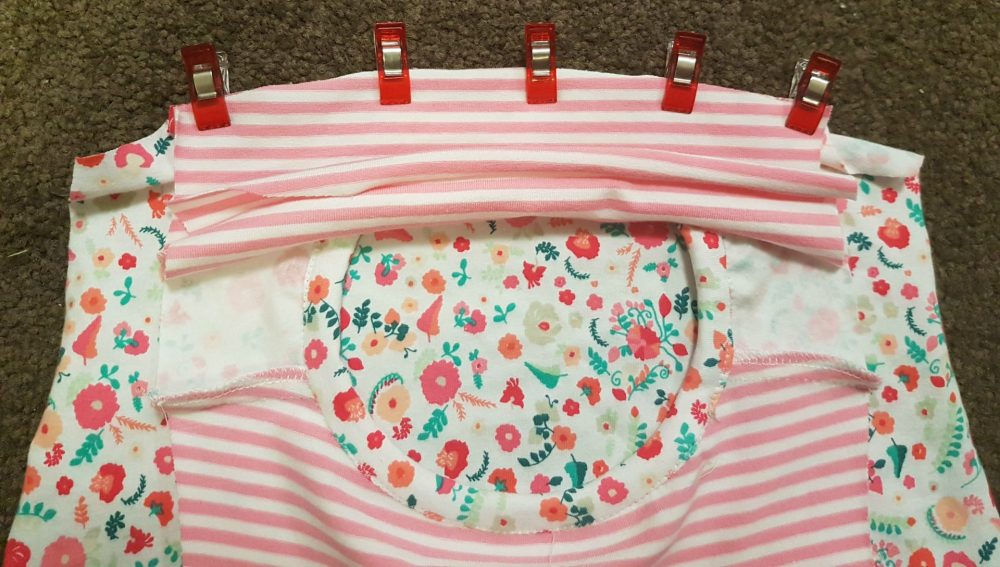
Then pick up that little roll of lower front and place it on top of the roll of back/neck. Now the clips where the lower piece is joined to the yoke is exposed again. See that front yoke up above it all? Fold that down so the edge lines up with the edge that is clipped. and Clip all three layers together.
See like this!!
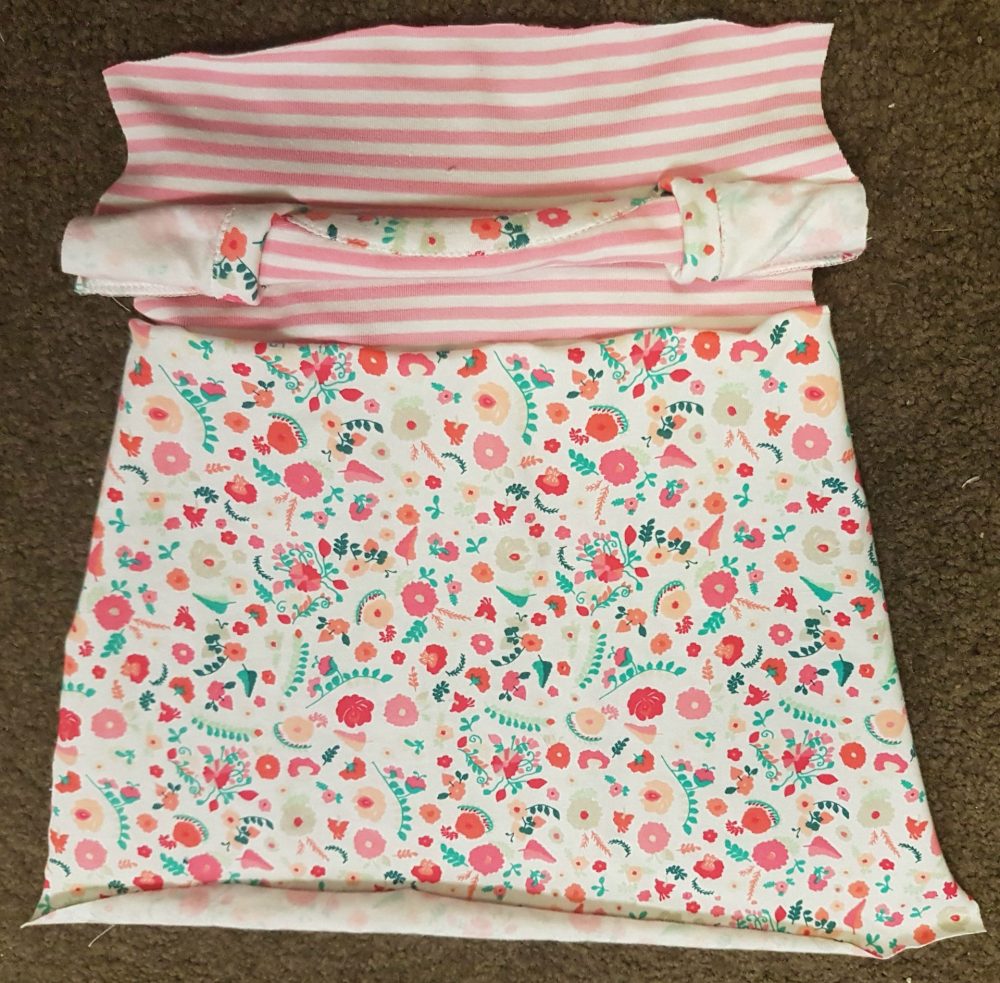
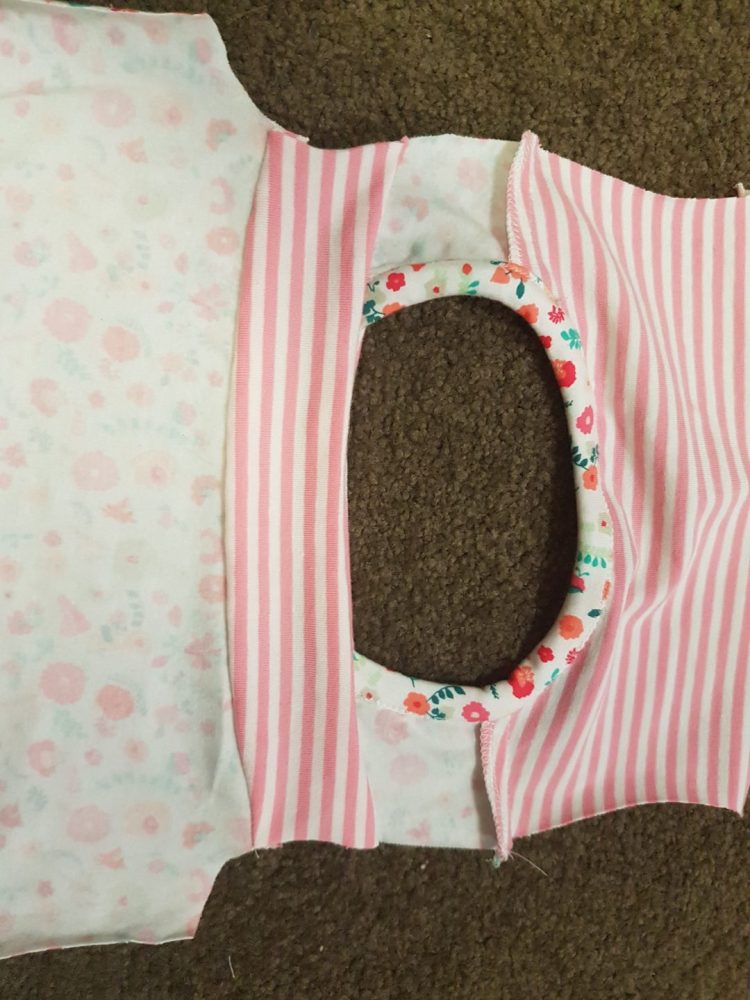
Now sew it along where the clips are and turn out the right way.
This is what you should have now….Repeat for the back yoke and lower back.






Leave a Reply
Want to join the discussion?Feel free to contribute!