{Tutorial} New Born Stretchy Pants
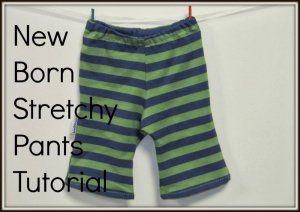
New Born Stretchy Pants
Suitable with knit fabrics or fabrics with 1 or 2 way stretch.
Recently I have joined a group on facebook (a very dangerous group) where other ladies are selling off their unwanted or unused fabrics for very good prices. My latest score arrived this morning. Two very nice pieces of knit, of very nice quality and thickness. PERFECT for little trousers or leggings. Seeing as I have made so many things for Brylie lately (one of which is a gorgeous little dress from knit) I thought that it was high time that I made something for the newest member of our family.
Portia was wearing a particually cute pair of pumpkin patch trousers today and I really like the fit and length and I know they are comfy and not too tight, unlike some of the PP trouser which are specificlly made for disposible bottoms not cloth bottoms.
So…where was I … ah yes, I liked this particular pair so I decided to draft a pattern similar to them. I am very pleased with my efforts and as soon as I can get the pattern into PDF form I will be able to share it with you.
But right now, I will write the tutorial to go with the pattern, ready for when I have it finished.
WHAT YOU NEED:
Knit fabric, not very much, less than 1/2 a metre
Nice sharpe scissors (mine need sharpening)
pins
overlocker (optional – as knit fabric doesn’t fray)
sewing machine
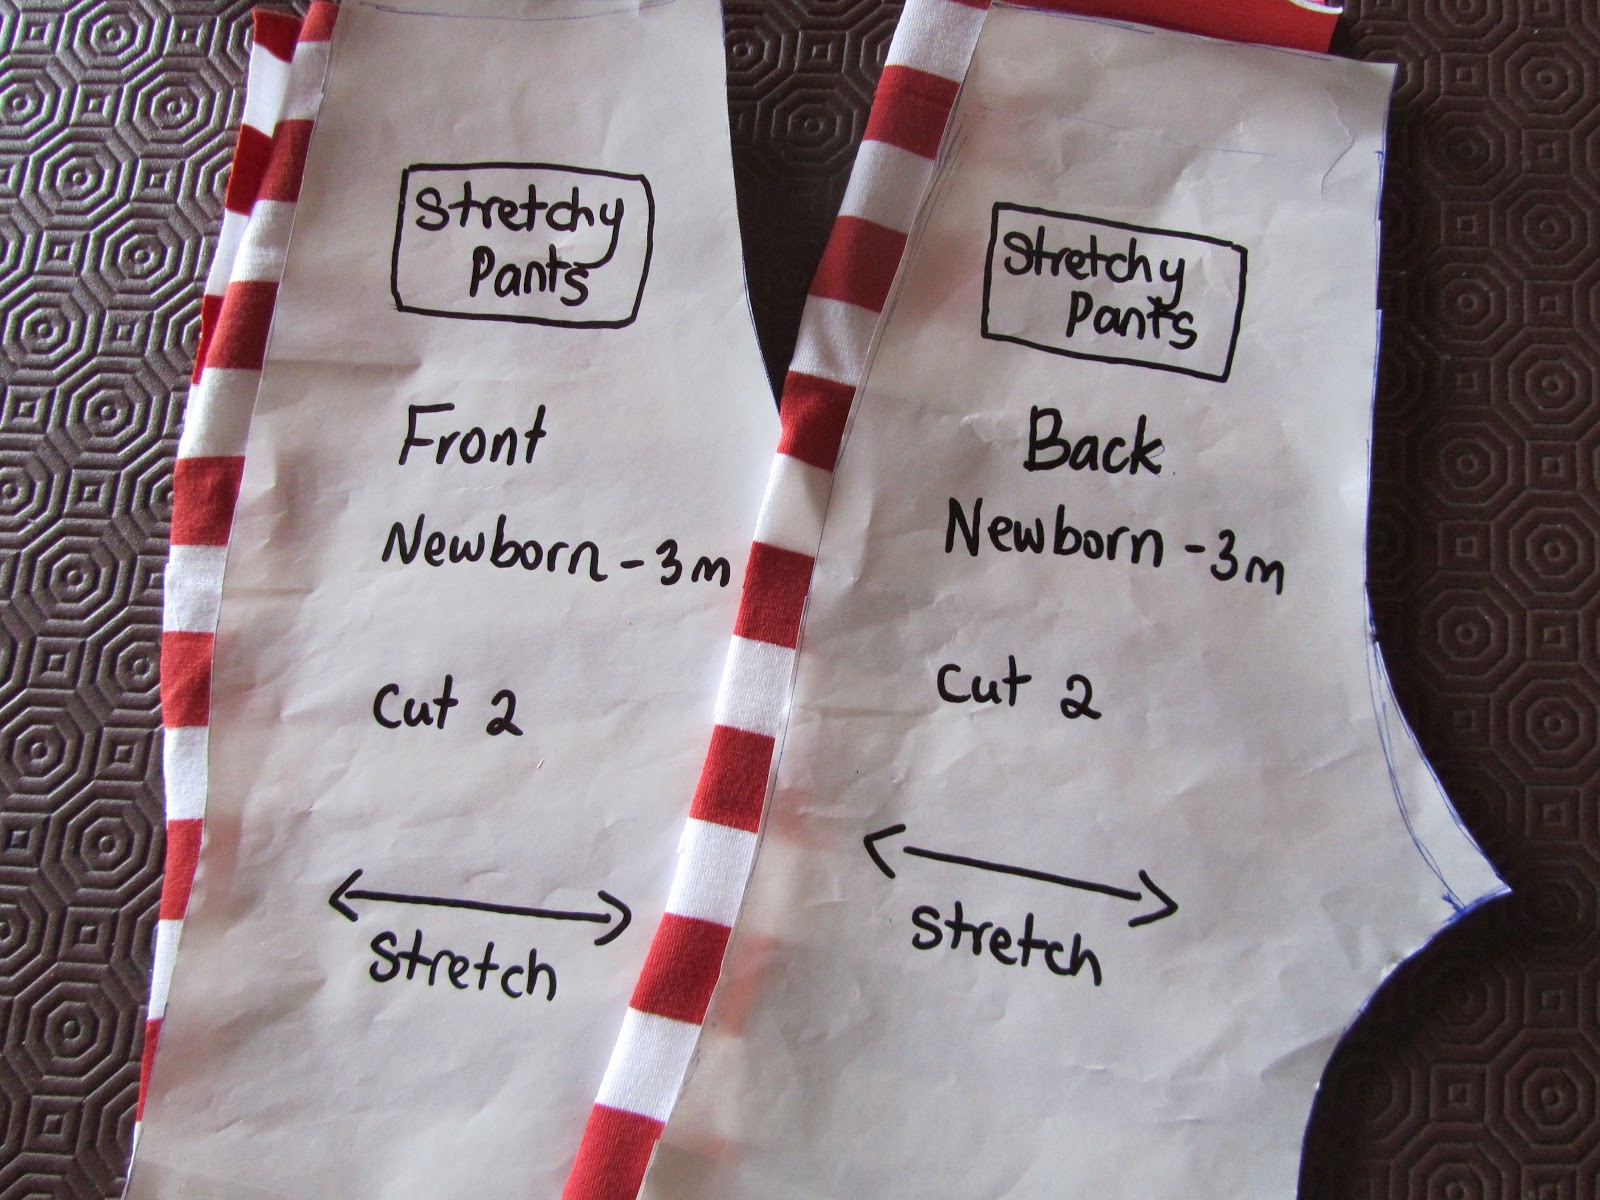
Print out the pattern pages, there should be 3 pages in total, then cut out the smaller top pieces and attach them to the larger bottom pieces. Now you should have 2 pieces.
STEP 1)
Fold your fabric in half and lay your pattern down with the stretch going the same way as the arrow on the pattern.
Pin and cut out.
you will notice that one of my peices is up the wrong way, this doesn’t matter because as long as you get 2 pieces mirror image to each other then you’ll be fine.

Now you have 4 pieces of fabric in total. 2 front pieces and 2 back pieces.
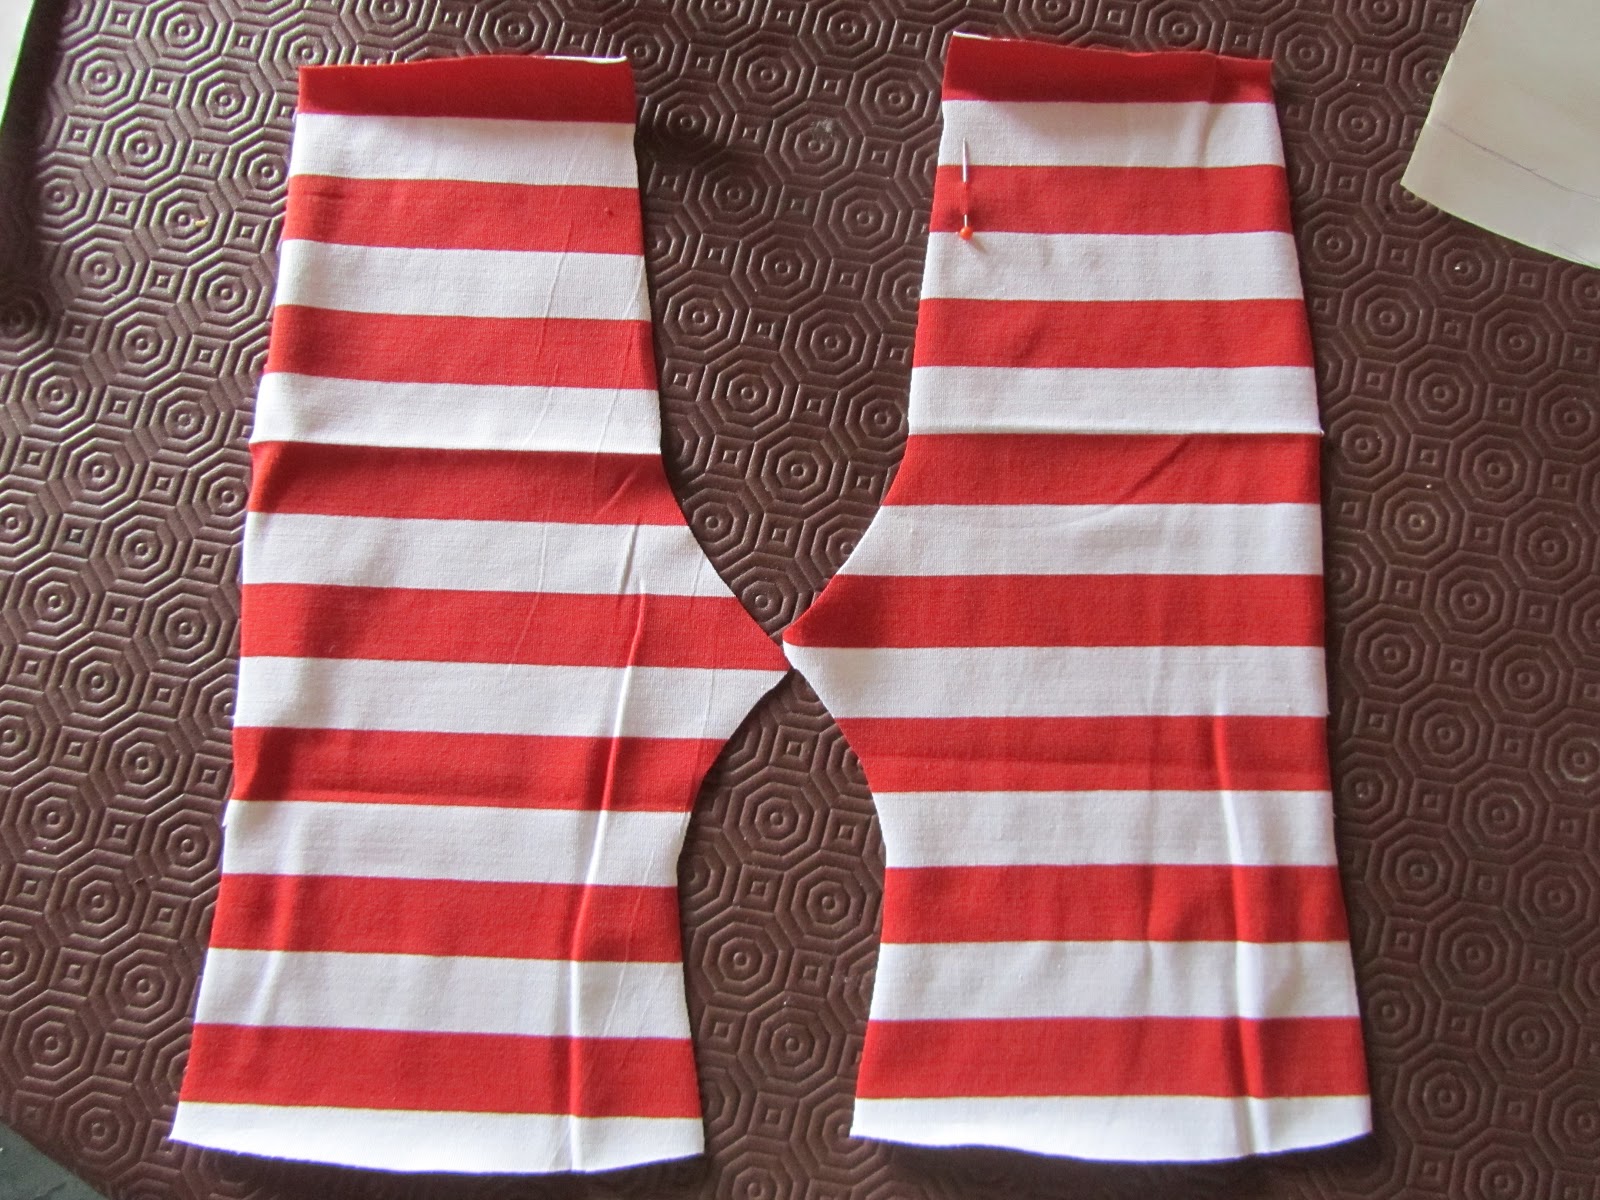
STEP 2)
Take your 2 back pieces and lay them RIGHT SIDE UP on your surface. I usually put a pin in on of the pieces so I know which ones are the back pieces. if you look really closely you can see it near the top on the right hand piece.
STEP 3)
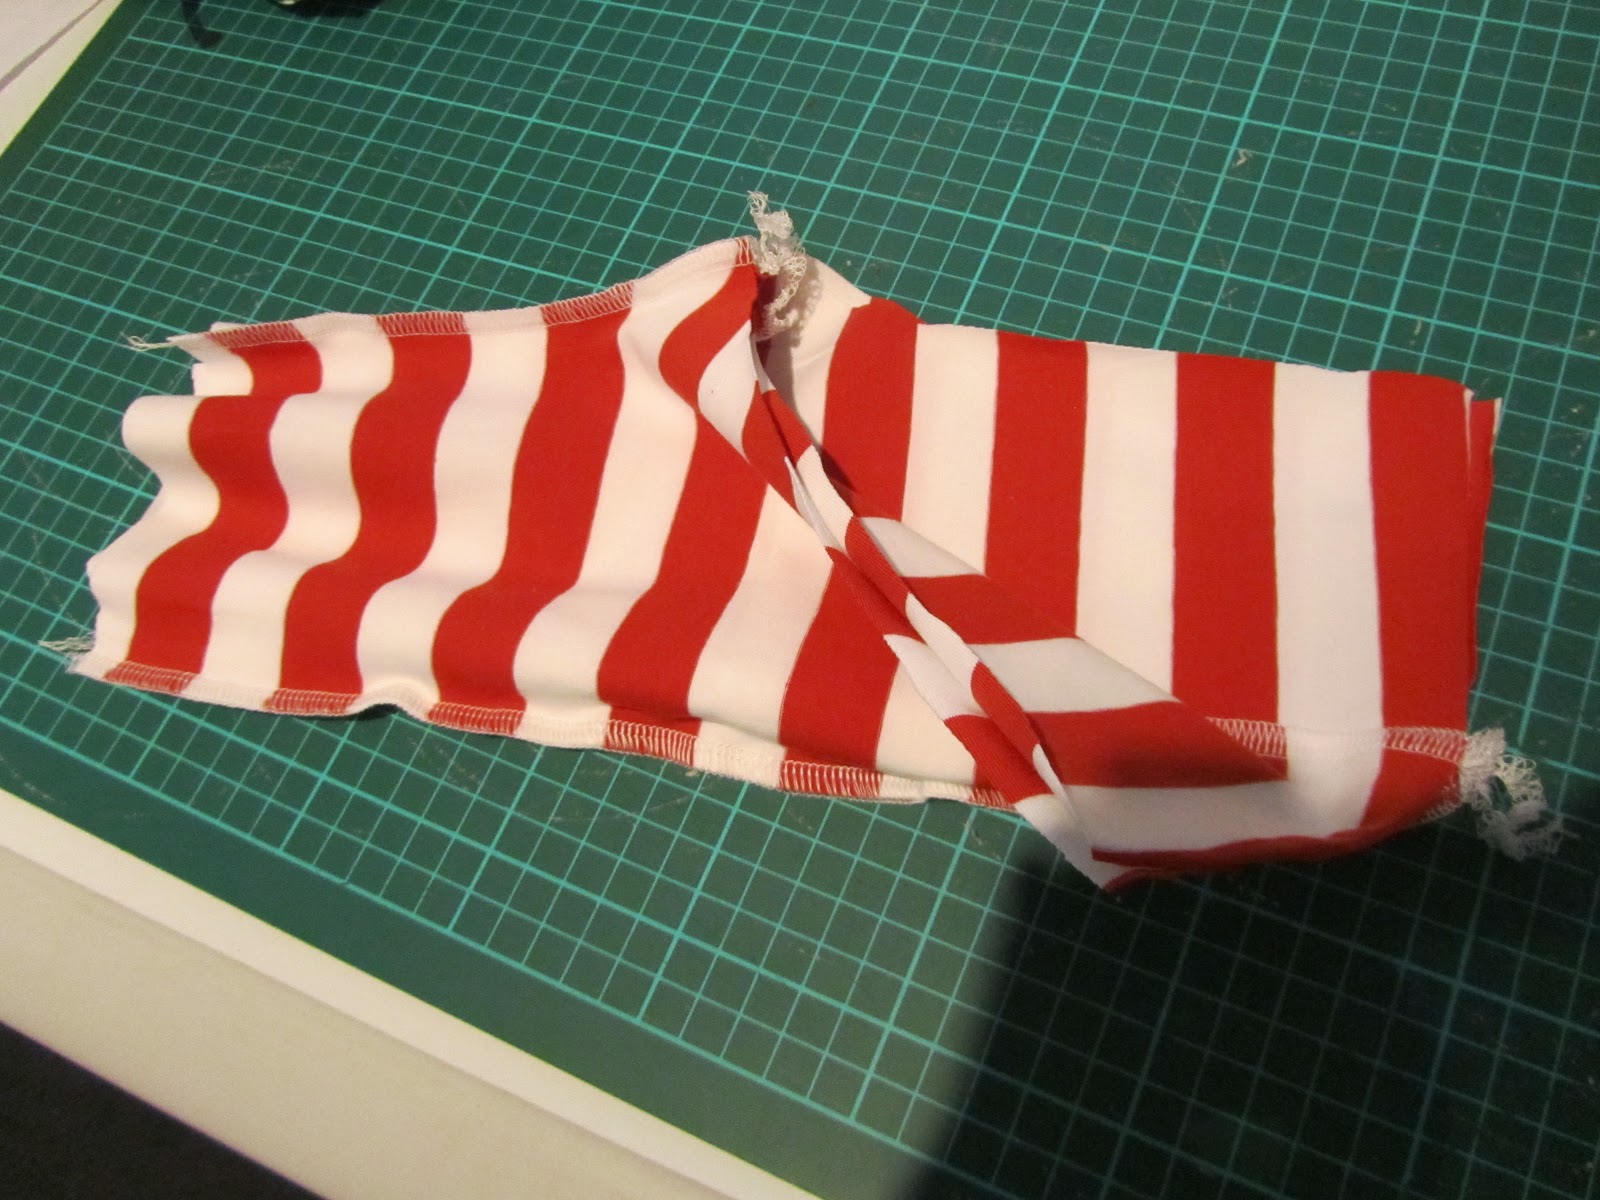
Then take your front pieces and lay them on top of the back pieces with RIGHT SIDES FACING – so the wrong side is facing up at you.
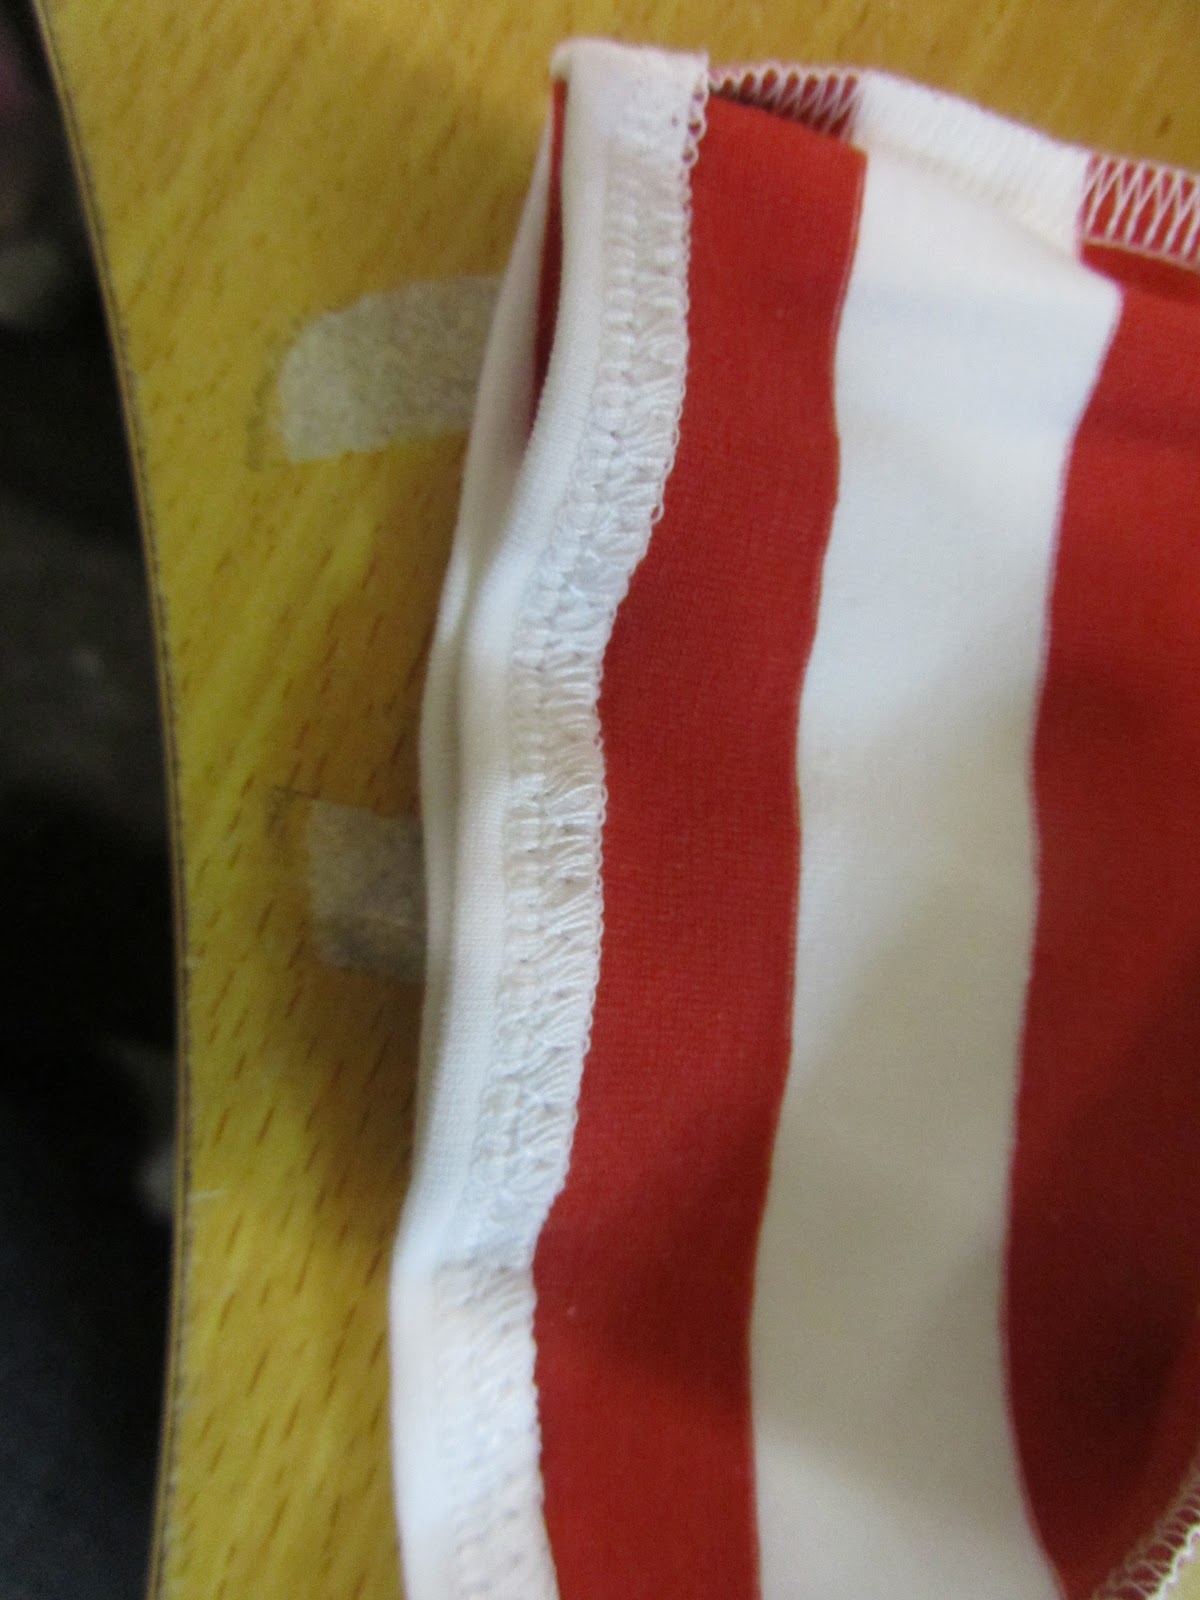
Pin down the two long seams on the outside edges, and the smaller seam at the bottom on the inside. (see next photo for where I overlocked)

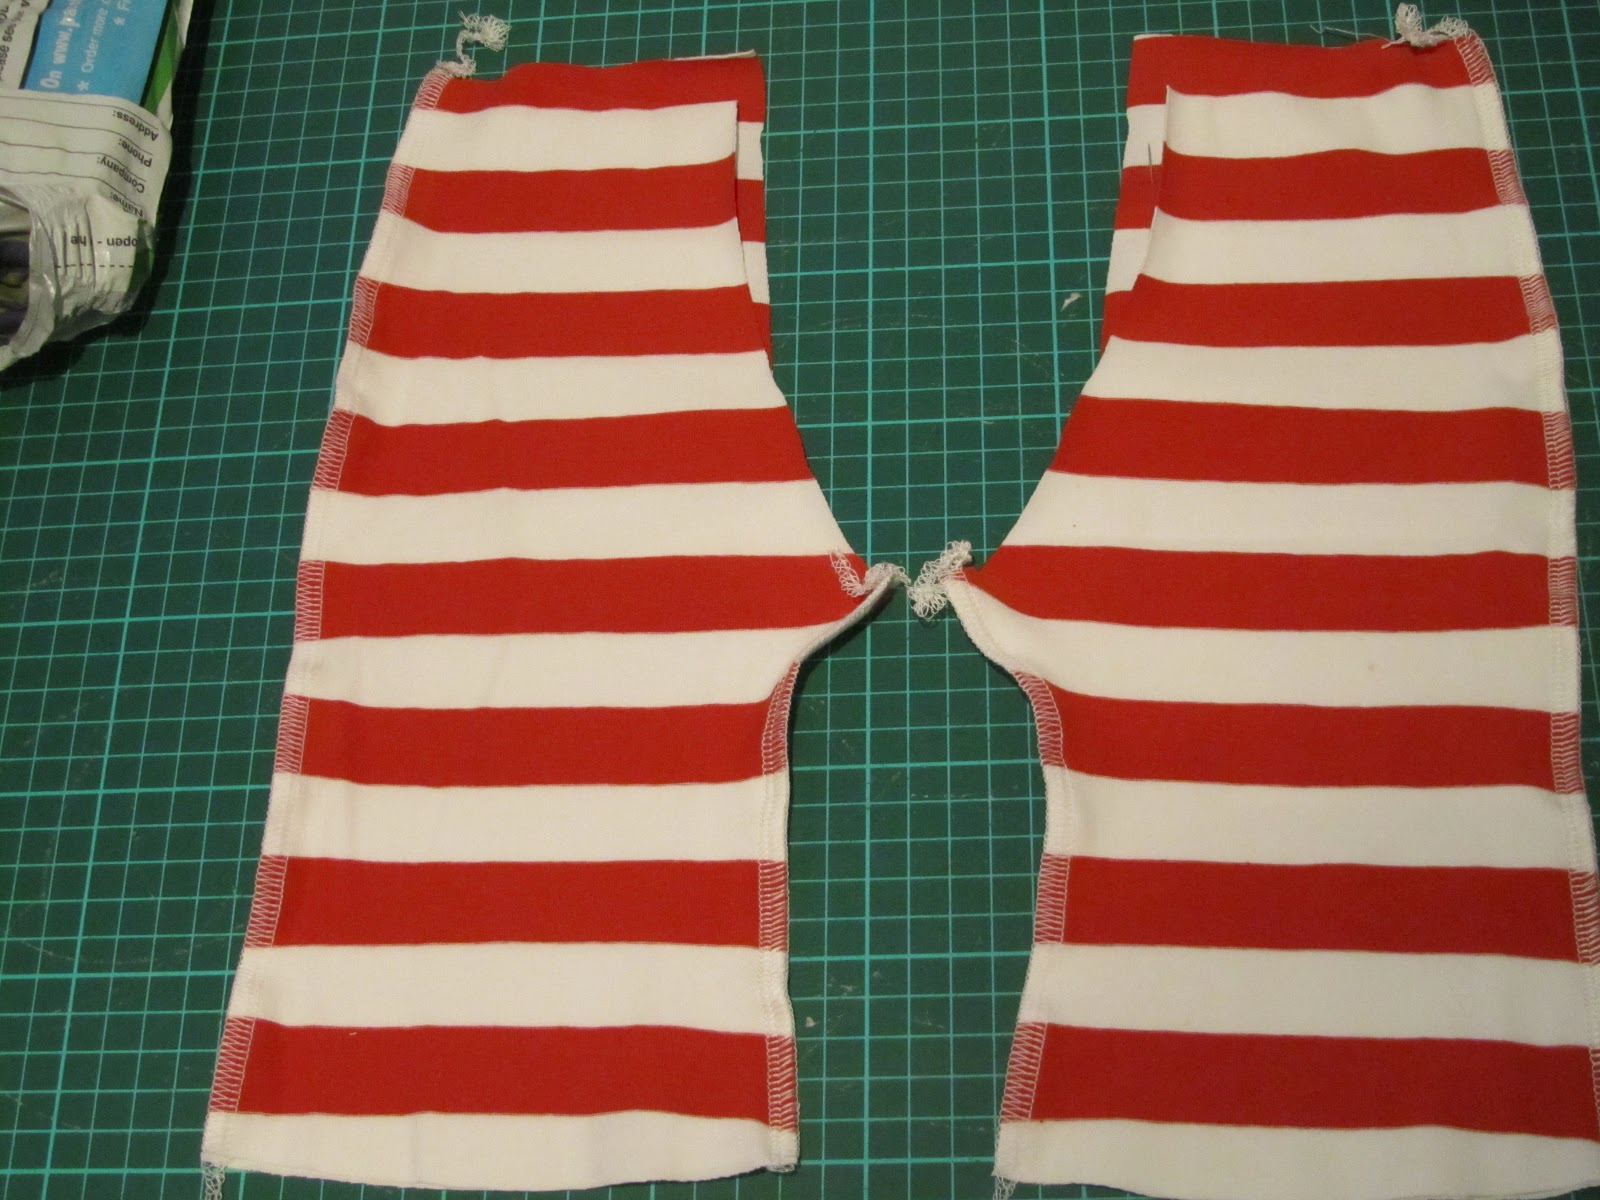
STEP 4)
Sew the seams you just pinned so you have something looking like the photo below..
STEP 5)
Turn one of the legs out the right way.

STEP 6)
Insert the leg that is RIGHT SIDE OUT, into the leg that is still turned the wrong way out.
So now you have one leg inside the other with RIGHT SIDES facing.

STEP 7)
Pin crotch seam and sew.
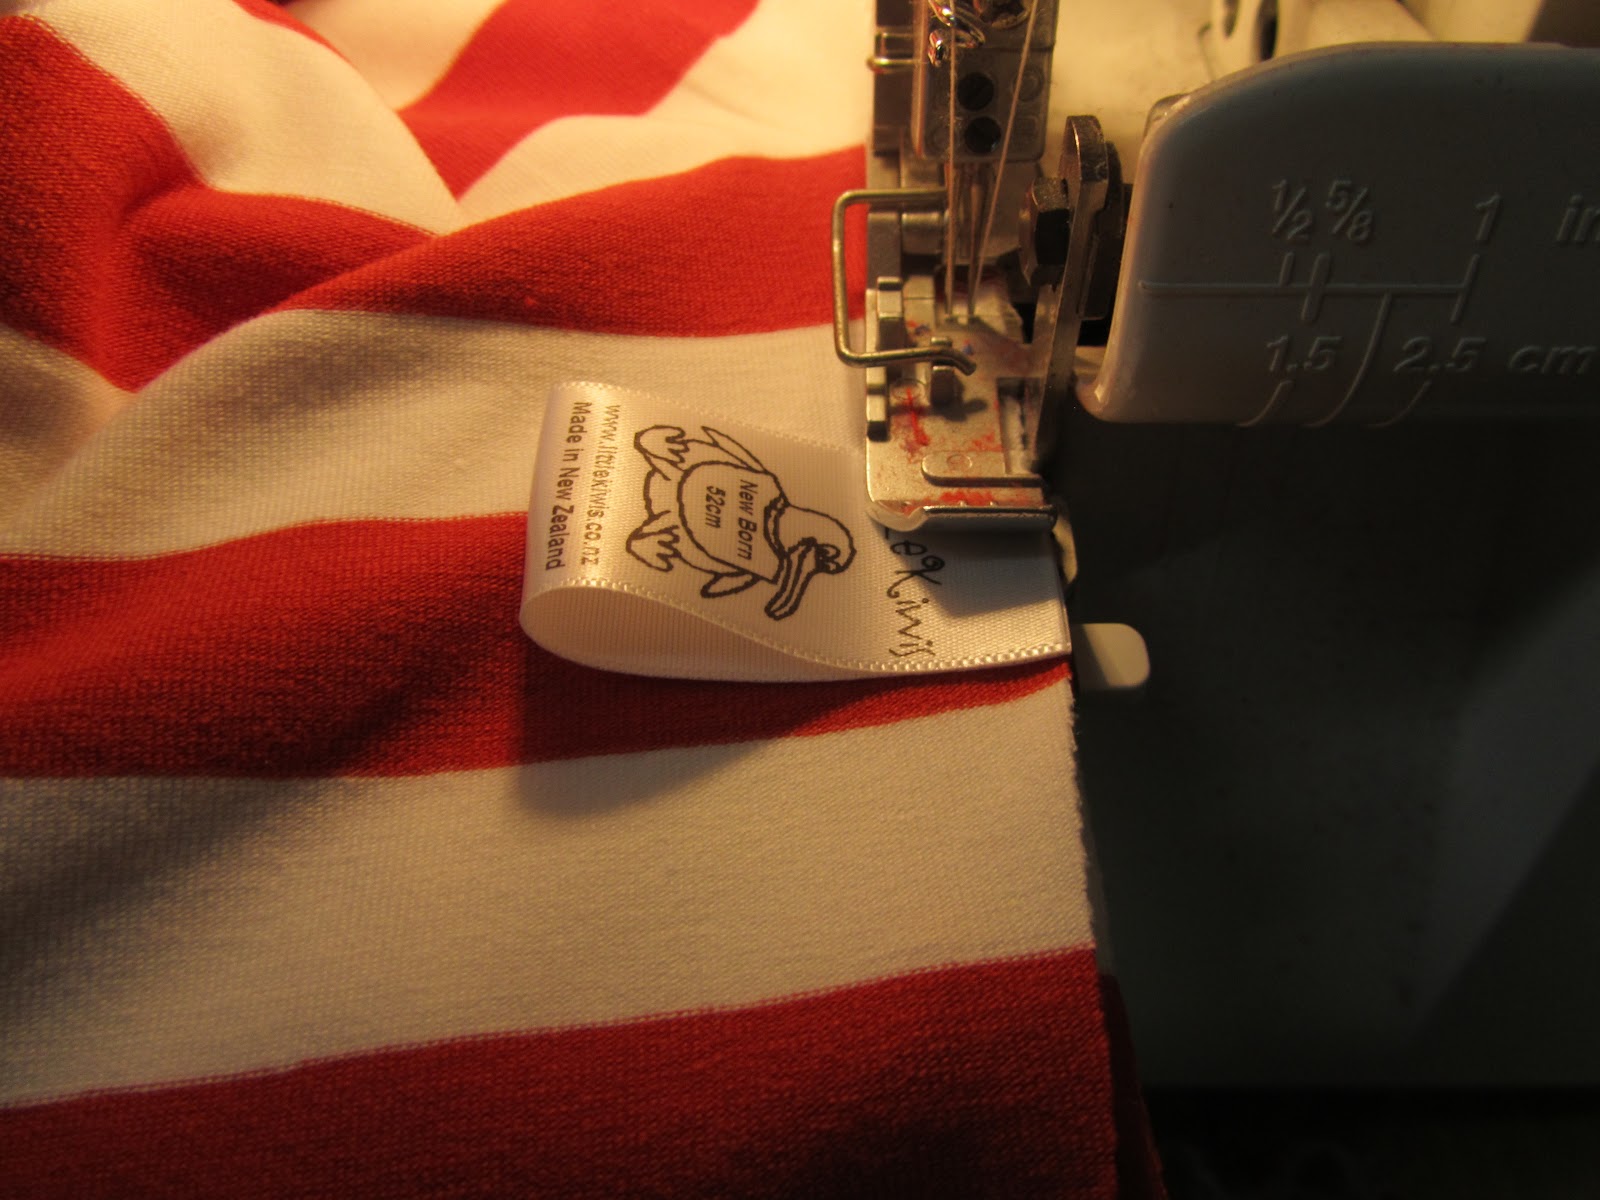
and now is a good time to add in a little label (if you have them) or a piece of ribbon to help distinguish the back from the front.
STEP 8)
Pull leg out and turn up the bottom of each leg and hem, I usually do it about 1cm or a little more. I overlocked first but you dont need to as it doesn’t fray. I used a zig zag stitch to help it stretch.
STEP 9)
Waistband.
Turn over 1cm, and then turn over 2cm, pin all the way around.
Start sewing (using zig zag or a stretch stitch) from the back. Sew all the way around and stop short of where you started leaving about a 3cm hole.
this is for your elastic, I used a thin elastic, about 8mm wide and 49cm long,

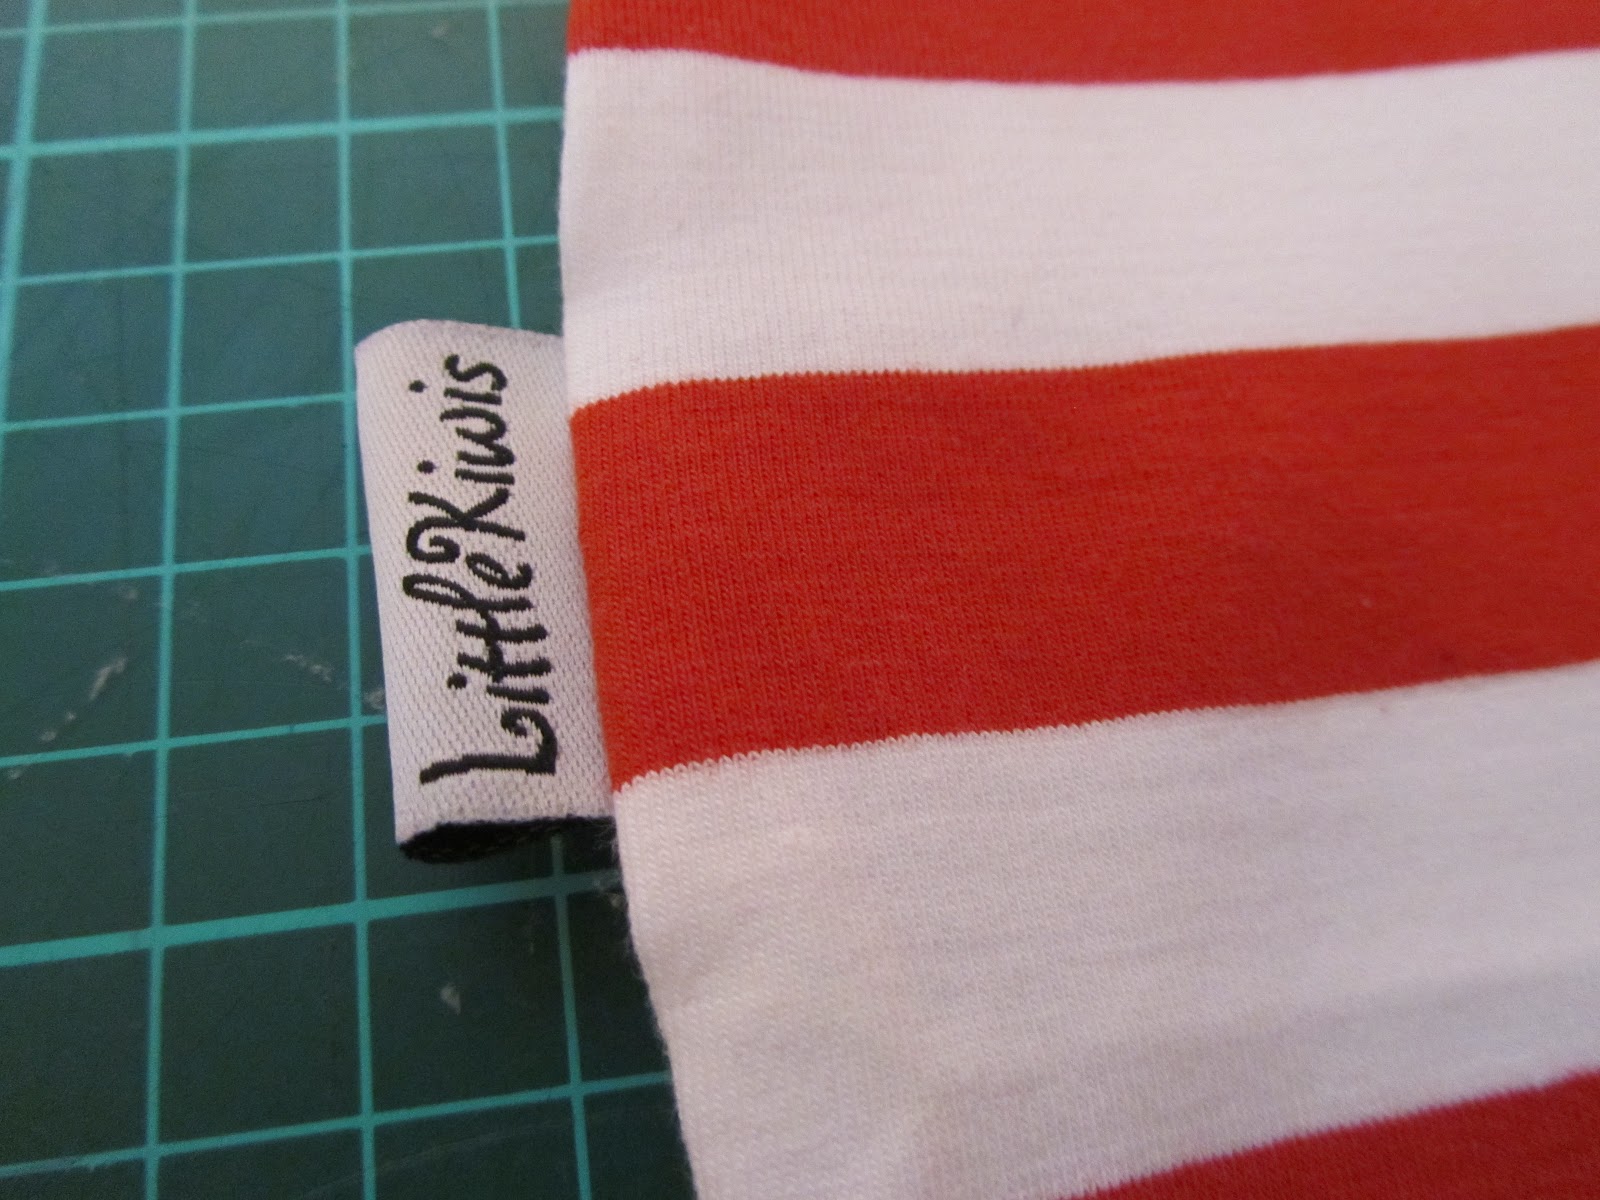
I love my labels I recently got from China.
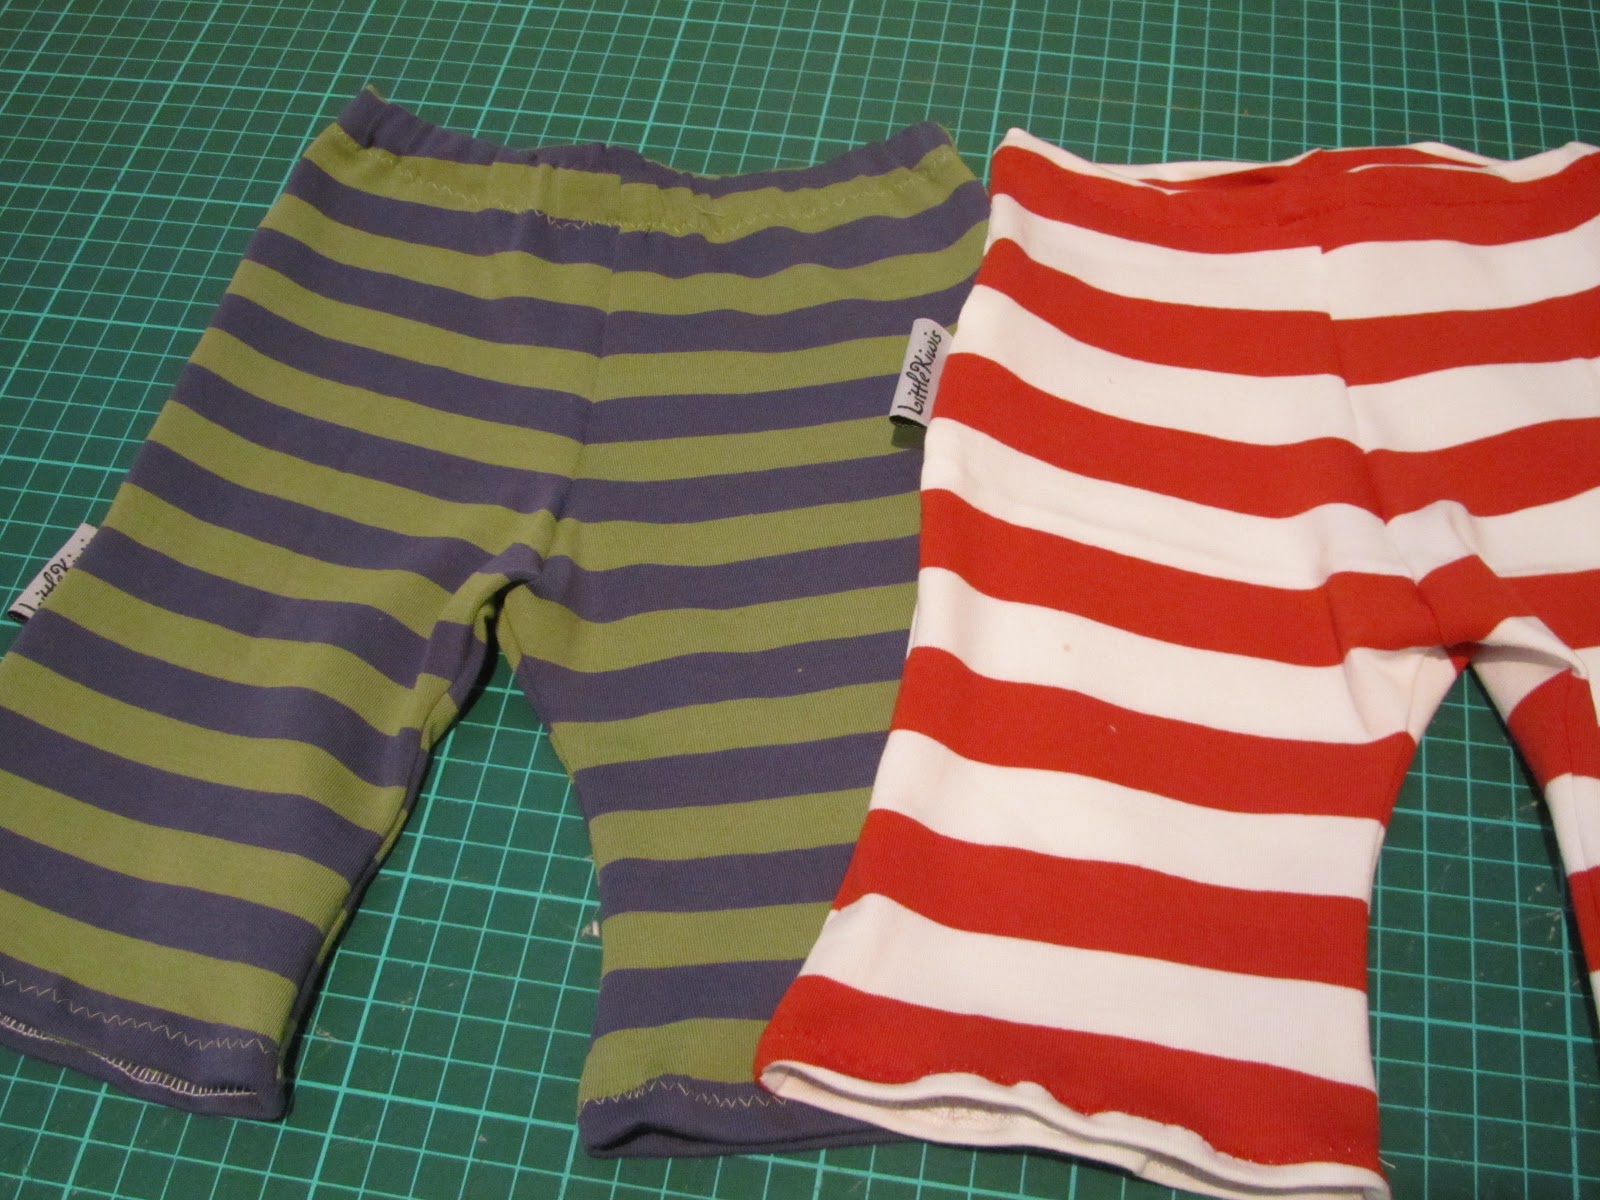
I loved them so much I had to make another pair.
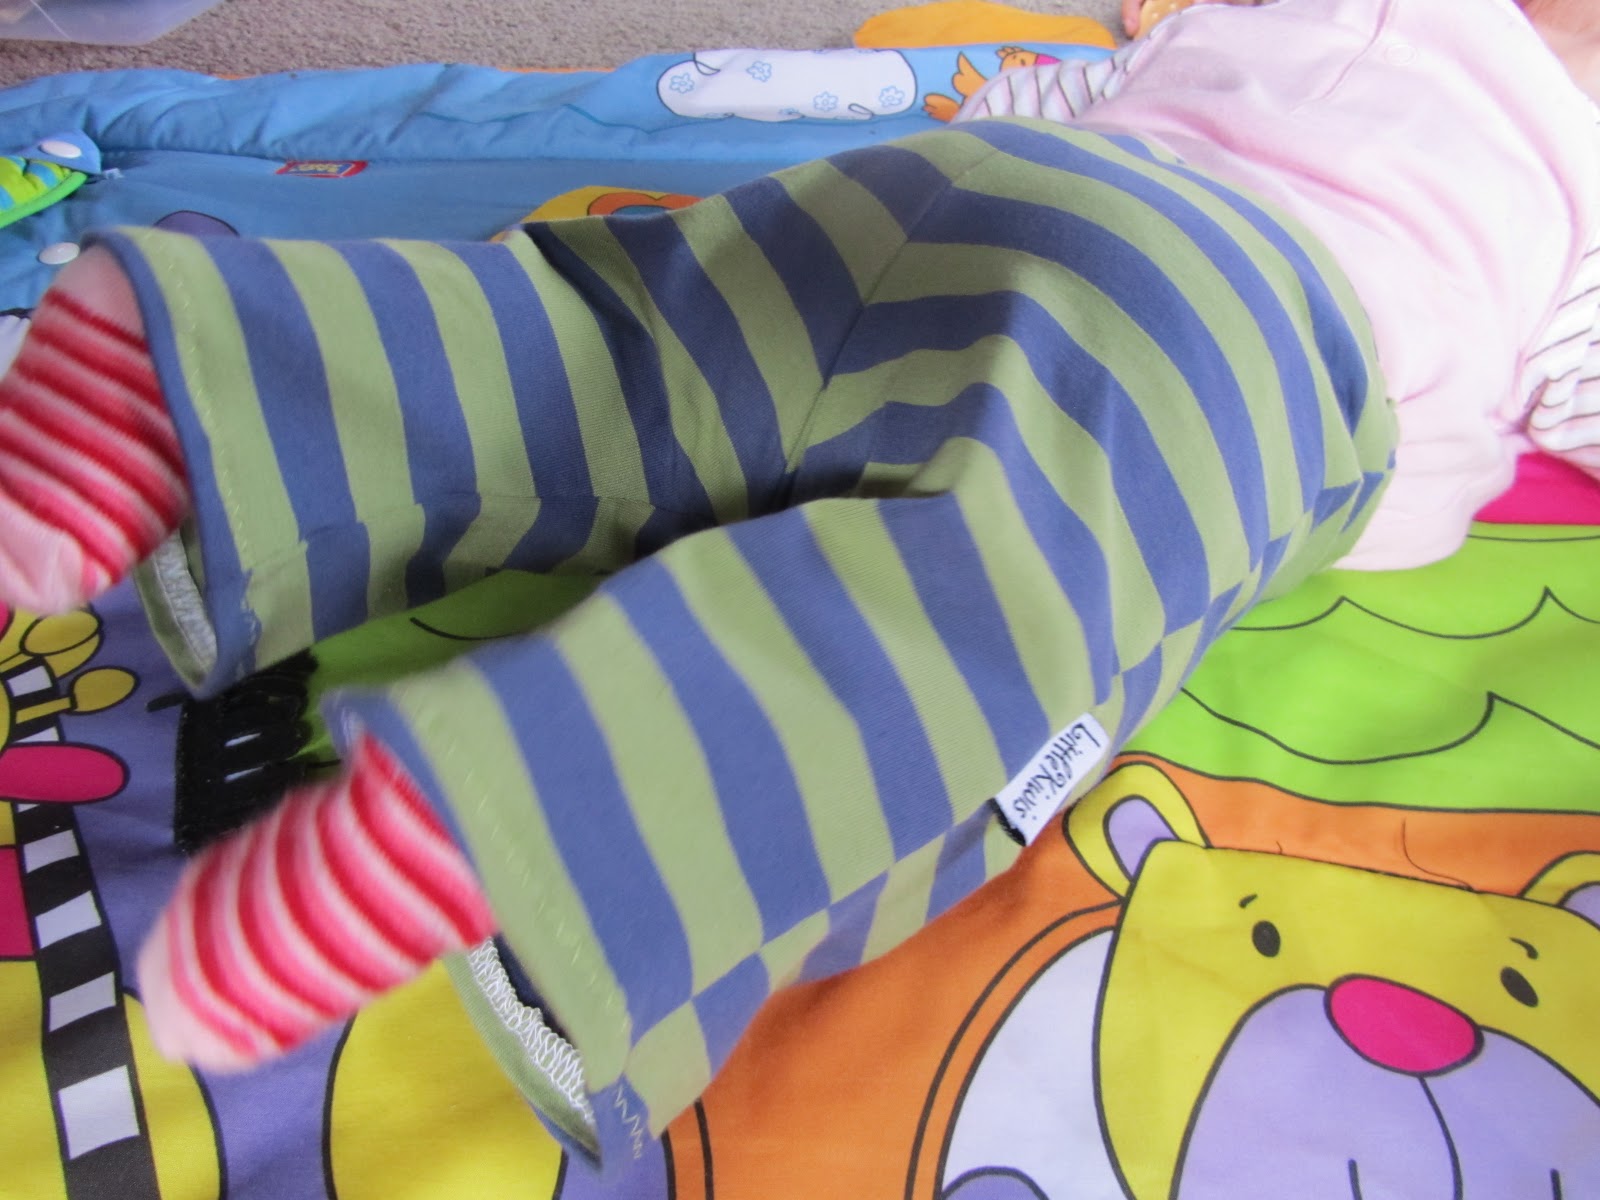
and here is Portia trying them out for size PERFECT (shes is a small 3months and still fits nb clothes, around 11 1/2 lbs) and so comfy.
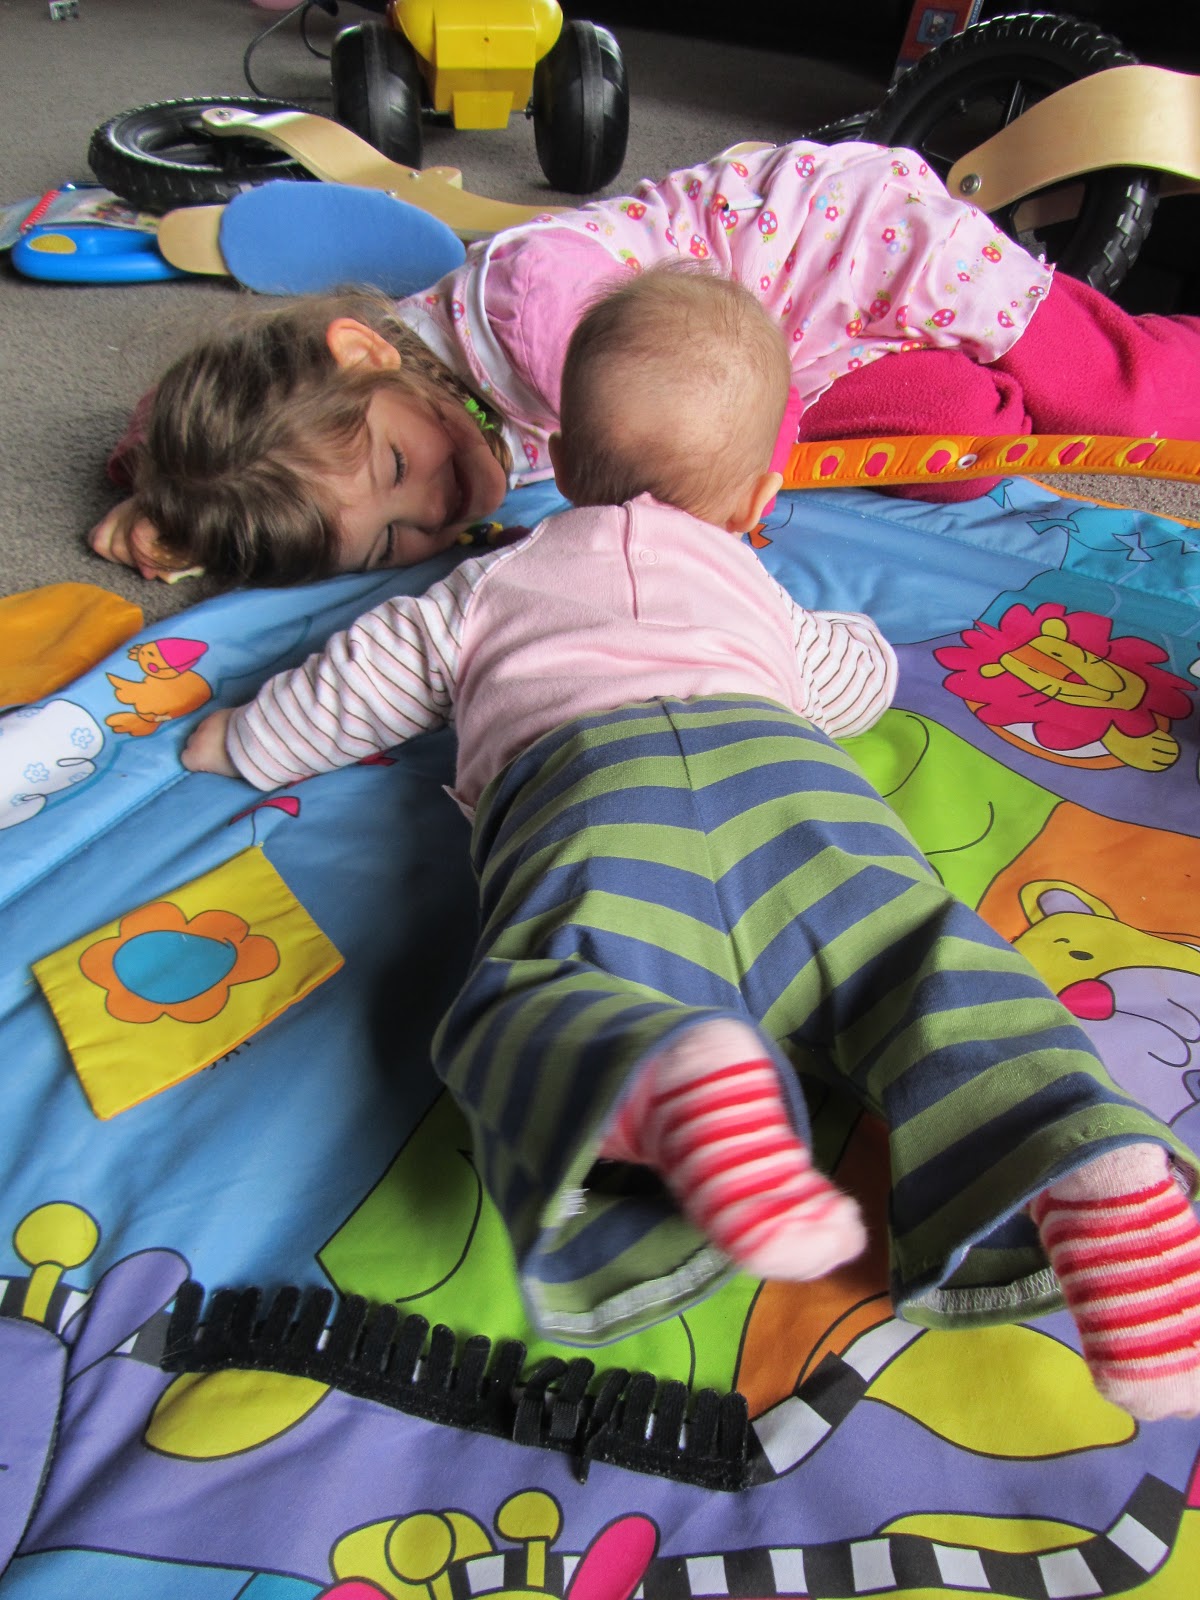
Big sister had to get in onthe photosession!!
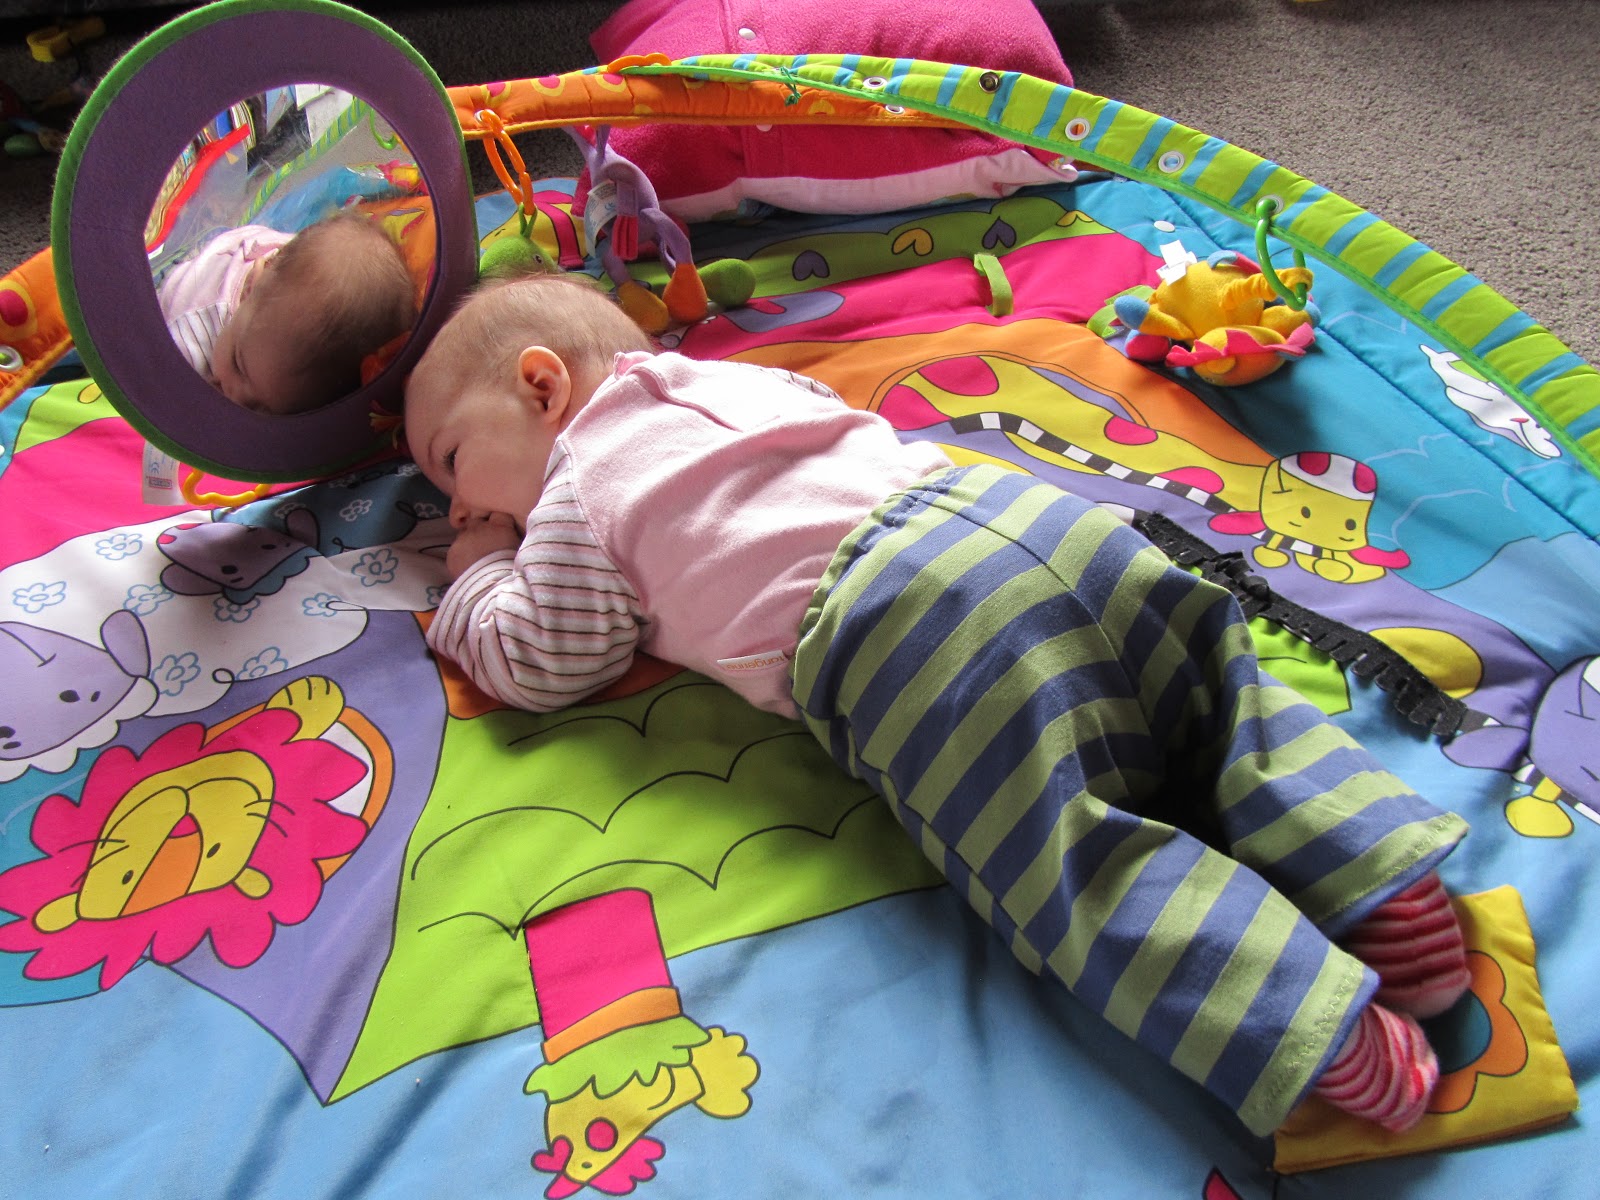
Just too tired to perform anymore. I’ll just have a little rest thanks!
So there it is, a very long tutorial, I hope it makes sense, if there are any things that dont make sense PLEASE let me know and I’ll change them. Now the next part is to make the pattern to PDF…
wish me luck


Leave a Reply
Want to join the discussion?Feel free to contribute!